No Knead Bread
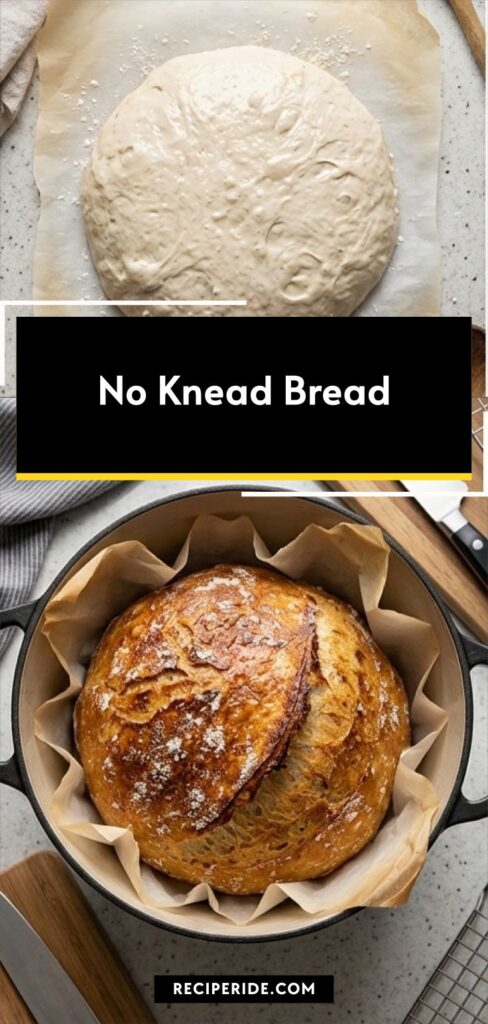
Bake a rustic No Knead Bread at home with minimal effort and delicious flavor.
Ingredients
- 3 cups all-purpose flour
- 2 teaspoons coarse sea salt
- 1/2 teaspoon active dry yeast (or instant yeast)
- 1 1/2 cups warm water (about 110 degrees F)
Instructions
Step 1: Mix the dough
In a large mixing bowl combine the all-purpose flour, coarse sea salt, and active dry yeast. Pour in the warm water and stir energetically with a wooden spoon until the ingredients come together into a wet, sticky, shaggy mass — it should be loose, glossy in places, and cling to the spoon. No kneading: just fold and scrape the bowl until uniformly hydrated. Cover the bowl and leave to rest for the bulk fermentation stage.
Step 2: Bulk rise
Leave the covered bowl at room temperature to rise for 3–4 hours until the surface is dotted with small bubbles and the dough has grown visibly in volume; alternatively refrigerate up to 15 hours for a slower, more flavorful ferment. The dough should look aerated and jiggly when disturbed, with a slightly domed surface.
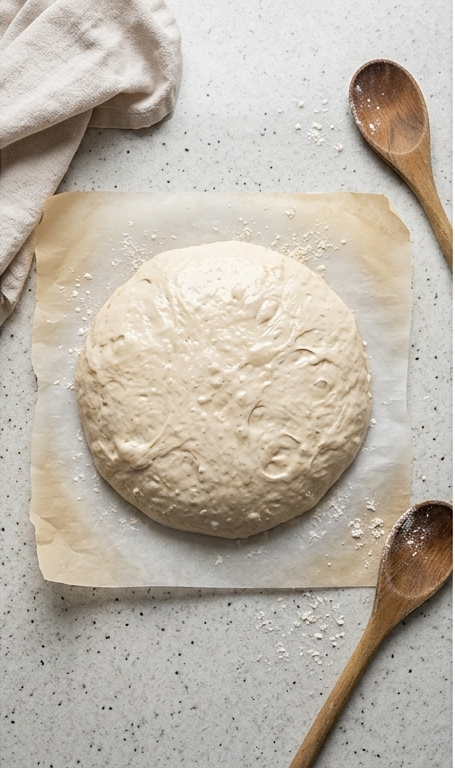
Step 3: Shape and bench rest
Scoop the sticky dough onto a lightly floured Luna Pearl granite work surface and gather it into a rough ball using a bench scraper or floured hands (minimal handling). Sprinkle a light dusting of flour on top, place the dough on a square of crumpled parchment paper, and cover with a dry kitchen towel. Let it rest and puff for about 30 minutes; the surface should tighten slightly and show small tension veins.
Step 4: Prepare the baking vessel
While the dough rests, set a dark round cast iron Dutch oven (with lid) on the counter ready to be used; this will become the presentation vessel. (Note: the pot will be preheated on the stoveless countertop staging step in the original recipe — here we prepare it visually and conceptually without showing an oven or appliance.)
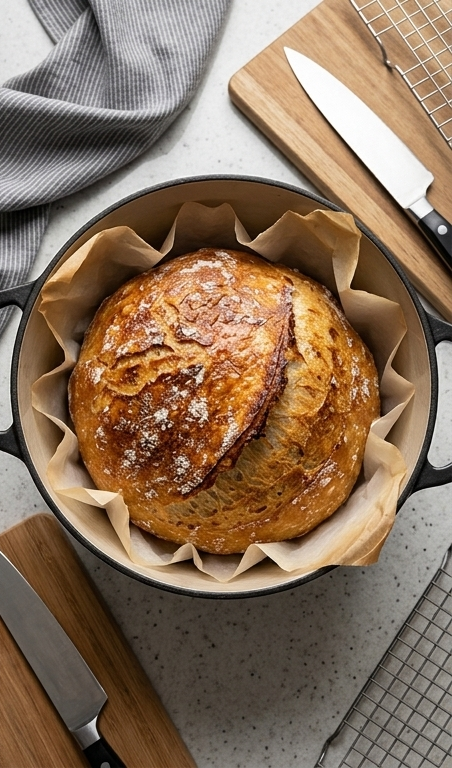
Step 5: Bake and finish
Lift the parchment with the dough and place it into the hot prepped cast iron pot, cover with the lid, and bake as directed to create maximal steam and oven spring — covered until the crust sets then uncovered briefly to caramelize the surface to a deep golden-brown with crackled texture. The finished loaf should be richly colored, with a glossy sheen in places and a scattering of flour on crevices. Transfer the loaf to a wire rack to cool so the crumb sets.
Step 6: Rest and store
Allow the loaf to cool fully on a wire rack before slicing; the interior should show an open, irregular crumb and tender, slightly moist crumb texture. Store the cooled round loaf in an open paper bag on the counter for up to a week to preserve the crust's character.
Notes
- Let the dough rest undisturbed for the best rise.
- Use a kitchen towel to cover the dough during bench rest.
- For a crispier crust, bake on a pre‑heated pizza stone under the Dutch oven.