Introduction
I’ve been chasing the perfect loaf for years, and the moment I discovered the No Knead Bread, everything clicked. The simplicity of just mixing, waiting, and baking feels like a gentle reminder that great things don’t always need a lot of effort. I love how the dough comes together in a sticky, shaggy mass that promises a crusty, airy interior. It’s become my go‑to recipe when I want to impress without stress. Let’s dive into why this loaf is a game‑changer for home bakers.
How This Recipe Became My Rainy-Day Favorite
I first tried No Knead Bread on a stormy Tuesday when the kitchen was the only place I could hear the rain. The house smelled of warm water and yeast as I mixed the flour, and the rising dough seemed to echo the clouds gathering outside. While the dough rested, I watched the droplets race down the window, feeling a calm anticipation. When the loaf finally emerged, its golden crust crackled like thunder, and the interior was soft and airy, a perfect contrast to the storm. That day, the bread became a ritual – a comforting hug in dough form that I return to whenever the weather turns gloomy.
The Heart of the Loaf
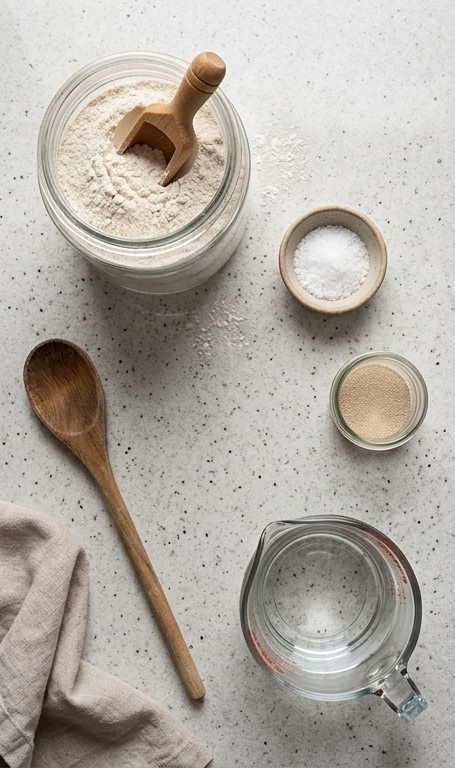
- All‑purpose flour: The backbone of the texture, providing structure and chew. You can swap for bread flour for a chewier crumb.
- Coarse sea salt: Enhances flavor and balances the yeast’s sweetness. If you only have fine salt, use half the amount.
- Active dry yeast (or instant yeast): The leavening hero that creates those airy bubbles. For a quicker rise, use instant yeast and skip the proof step.
- Warm water (about 110°F): Hydrates the flour and activates the yeast. If your kitchen is cool, a slightly warmer water (115°F) helps.
Kitchen Essentials for Success
A solid set of tools makes the no‑knead process effortless. A large mixing bowl lets the dough expand without spilling. A sturdy wooden spoon or spatula is perfect for folding the sticky mass. A bench scraper helps shape the dough without tearing it. A parchment paper square prevents sticking when transferring to the Dutch oven. Finally, a cast‑iron Dutch oven with a tight‑fitting lid traps steam for a crispy crust. If you lack a Dutch oven, a heavy‑bottomed pot with a lid works, though you may need to add a tray of water for steam.
Step-by-Step Preparation Guide
Step 1: Mix the dough
In a large mixing bowl combine the all-purpose flour, coarse sea salt, and active dry yeast. Pour in the warm water and stir energetically with a wooden spoon until the ingredients come together into a wet, sticky, shaggy mass – it should be loose, glossy in places, and cling to the spoon. No kneading: just fold and scrape the bowl until uniformly hydrated. Cover the bowl and leave to rest for the bulk fermentation stage.
Step 2: Bulk rise
Leave the covered bowl at room temperature to rise for 3-4 hours until the surface is dotted with small bubbles and the dough has grown visibly in volume; alternatively refrigerate up to 15 hours for a slower, more flavorful ferment. The dough should look aerated and jiggly when disturbed, with a slightly domed surface.
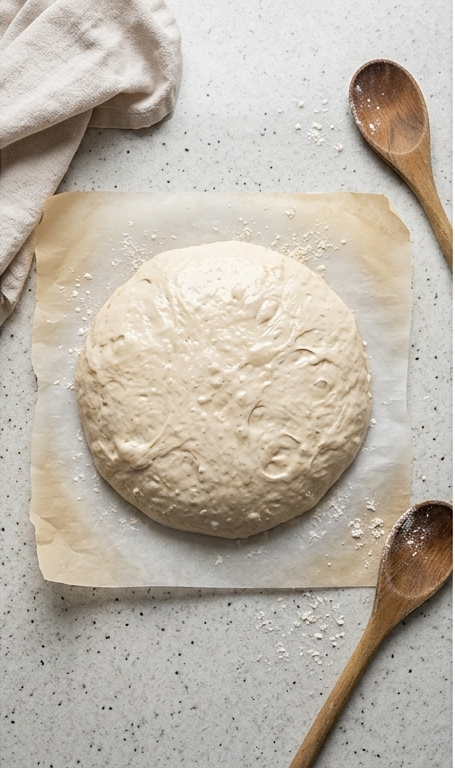
Step 3: Shape and bench rest
Scoop the sticky dough onto a lightly floured Luna Pearl granite work surface and gather it into a rough ball using a bench scraper or floured hands (minimal handling). Sprinkle a light dusting of flour on top, place the dough on a square of crumpled parchment paper, and cover with a dry kitchen towel. Let it rest and puff for about 30 minutes; the surface should tighten slightly and show small tension veins.
Step 4: Prepare the baking vessel
While the dough rests, set a dark round cast iron Dutch oven (with lid) on the counter ready to be used; this will become the presentation vessel. (Note: the pot will be preheated on the stoveless countertop staging step in the original recipe — here we prepare it visually and conceptually without showing an oven or appliance.)
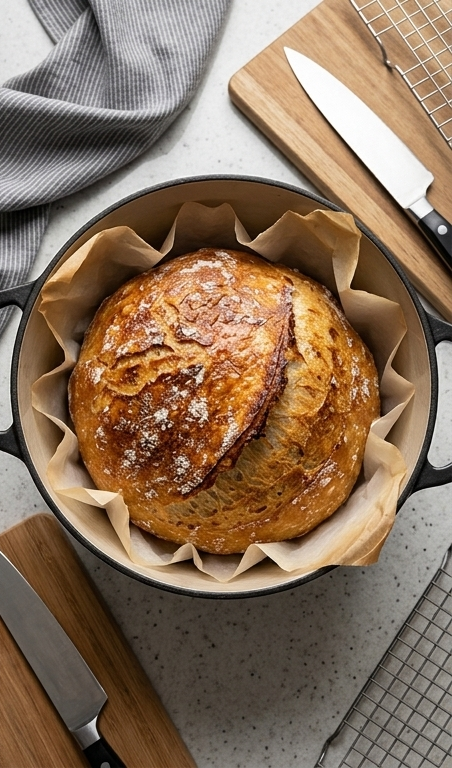
Step 5: Bake and finish
Lift the parchment with the dough and place it into the hot prepped cast iron pot, cover with the lid, and bake as directed to create maximal steam and oven spring – covered until the crust sets then uncovered briefly to caramelize the surface to a deep golden-brown with crackled texture. The finished loaf should be richly colored, with a glossy sheen in places and a scattering of flour on crevices. Transfer the loaf to a wire rack to cool so the crumb sets.
Step 6: Rest and store
Allow the loaf to cool fully on a wire rack before slicing; the interior should show an open, irregular crumb and tender, slightly moist crumb texture. Store the cooled round loaf in an open paper bag on the counter for up to a week to preserve the crust’s character.
Making It Your Own
I love experimenting with add‑ins. A handful of rosemary and sea salt gives a Mediterranean twist. For a sweet version, fold in dried figs and a drizzle of honey before baking. Seasonal veggies like grated zucchini add moisture and a subtle green hue. If you’re gluten‑free, try a blend of rice flour and tapioca starch, though the texture will be denser. Each variation feels like a new adventure while keeping the core no‑knead magic.
How to Serve
When hosting, slice the loaf thickly and toast the pieces for bruschetta topped with ripe tomatoes, basil, and a splash of olive oil. Pair it with a hearty soup or a cheese board for a rustic spread. For larger gatherings, double the recipe and bake two loaves side by side in a larger Dutch oven, adjusting bake time slightly. The crust holds up well to butter spreads, while the airy crumb soaks up sauces beautifully.
Storing and Reheating
After cooling, wrap the loaf loosely in a clean kitchen towel and place it in a paper bag; this keeps the crust crisp for several days. If you need to refresh it, sprinkle a few drops of water on the crust and warm it in a 350°F oven for 10 minutes. For a quick snack, toast slices directly from the bag; the steam trapped inside revives the interior crumb.
Oops! Common Pitfalls
Over‑mixing can develop too much gluten, making the loaf dense. Stir just until the flour is hydrated and stop. Using water that’s too hot kills the yeast; aim for a warm, not scalding, temperature.
Final Thoughts
Give the No Knead Bread a try and watch how effortlessly a simple dough transforms into a bakery‑style loaf. You’ll be amazed at the flavor and texture you can achieve with minimal effort.
Frequently Asked Questions
- Can I use instant yeast instead of active dry yeast? Yes, just use the same amount and skip the proofing step.
- What temperature should the water be? Aim for about 110°F; warm enough to activate yeast but not so hot that it kills it.
- How long can I keep the bread fresh? Store in a paper bag at room temperature for up to a week; for longer storage, freeze slices.
- Do I need a Dutch oven? A heavy‑bottomed pot with a lid works, but a Dutch oven creates the best steam.
- Can I add herbs or cheese? Absolutely! Fold in fresh herbs, dried spices, or grated cheese before the bulk rise for extra flavor.
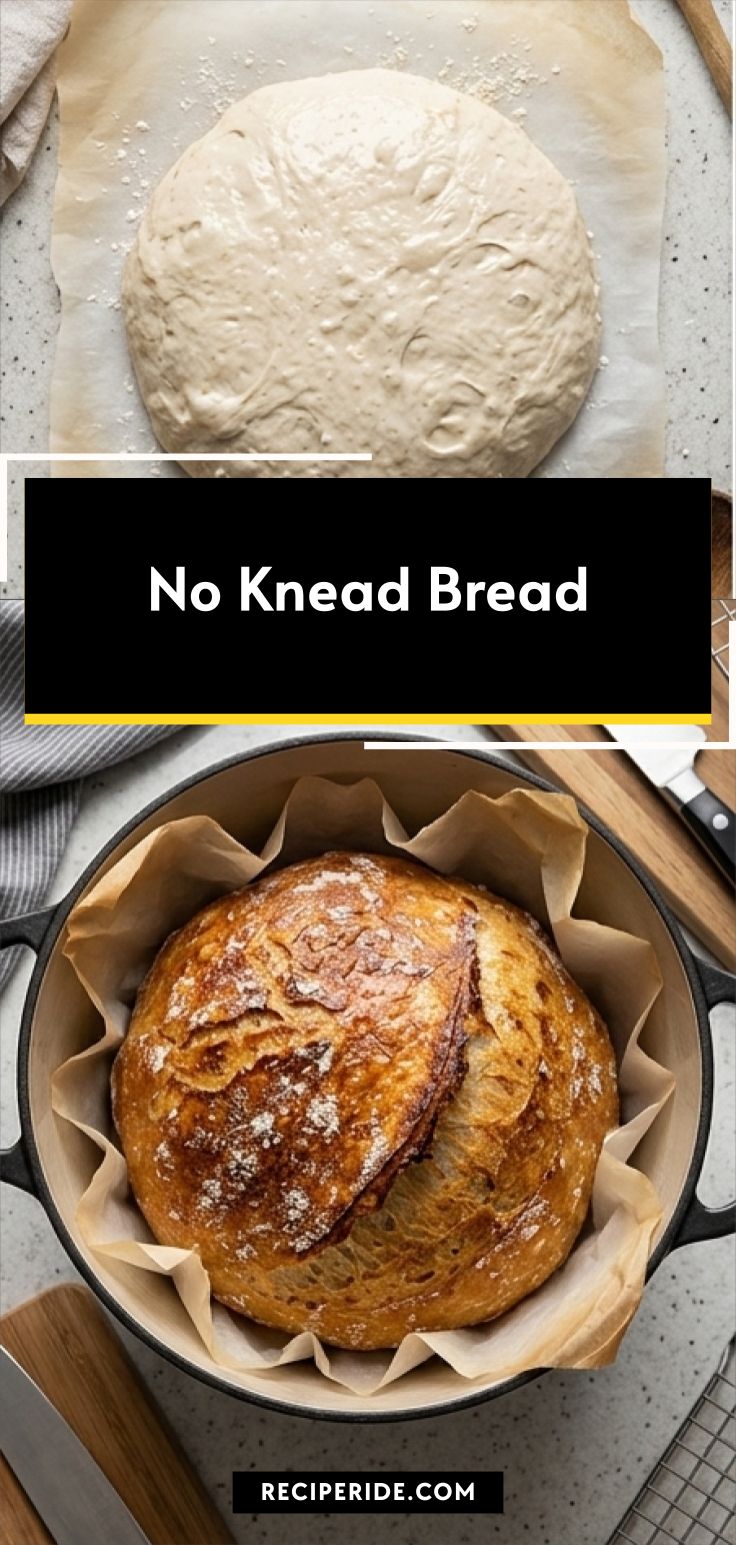
No Knead Bread
Bake a rustic No Knead Bread at home with minimal effort and delicious flavor.
Ingredients
Instructions
Step 1: Mix the dough
In a large mixing bowl combine the all-purpose flour, coarse sea salt, and active dry yeast. Pour in the warm water and stir energetically with a wooden spoon until the ingredients come together into a wet, sticky, shaggy mass — it should be loose, glossy in places, and cling to the spoon. No kneading: just fold and scrape the bowl until uniformly hydrated. Cover the bowl and leave to rest for the bulk fermentation stage.
Step 2: Bulk rise
Leave the covered bowl at room temperature to rise for 3–4 hours until the surface is dotted with small bubbles and the dough has grown visibly in volume; alternatively refrigerate up to 15 hours for a slower, more flavorful ferment. The dough should look aerated and jiggly when disturbed, with a slightly domed surface.
Step 3: Shape and bench rest
Scoop the sticky dough onto a lightly floured Luna Pearl granite work surface and gather it into a rough ball using a bench scraper or floured hands (minimal handling). Sprinkle a light dusting of flour on top, place the dough on a square of crumpled parchment paper, and cover with a dry kitchen towel. Let it rest and puff for about 30 minutes; the surface should tighten slightly and show small tension veins.
Step 4: Prepare the baking vessel
While the dough rests, set a dark round cast iron Dutch oven (with lid) on the counter ready to be used; this will become the presentation vessel. (Note: the pot will be preheated on the stoveless countertop staging step in the original recipe — here we prepare it visually and conceptually without showing an oven or appliance.)
Step 5: Bake and finish
Lift the parchment with the dough and place it into the hot prepped cast iron pot, cover with the lid, and bake as directed to create maximal steam and oven spring — covered until the crust sets then uncovered briefly to caramelize the surface to a deep golden-brown with crackled texture. The finished loaf should be richly colored, with a glossy sheen in places and a scattering of flour on crevices. Transfer the loaf to a wire rack to cool so the crumb sets.
Step 6: Rest and store
Allow the loaf to cool fully on a wire rack before slicing; the interior should show an open, irregular crumb and tender, slightly moist crumb texture. Store the cooled round loaf in an open paper bag on the counter for up to a week to preserve the crust's character.
Notes
- Let the dough rest undisturbed for the best rise.
- Use a kitchen towel to cover the dough during bench rest.
- For a crispier crust, bake on a pre‑heated pizza stone under the Dutch oven.


