I fell in love with the Green Goddess Smoothie Recipe the first time I sipped a thick, chilled glass on a sleepy Saturday morning. It felt like a little leafy celebration, bright, minty, and unexpectedly creamy. I make it whenever I want something vibrant that still feels wholesome, and it has become my go-to for quick breakfasts and post-workout refuels. You’ll notice how the aroma of lemon and mint lifts the whole drink and how the frozen banana and avocado give it a silky, spoonable texture.
This Green Goddess Smoothie Recipe is special because it balances bold green flavors with a gentle tropical sweetness, and it’s easy enough to adapt to what’s in your freezer. Whether you want a light breakfast to start your day or a cooling afternoon treat, it delivers a hit of greens without tasting like a salad.
How This Recipe Became My Rainy-Day Favorite
I remember the first rainy morning I made this Green Goddess Smoothie Recipe: the day outside was slow and gray, and I had a box of frozen bananas and a wilting bunch of mint staring back at me. Blending the chilled almond milk with bright spinach and the sweet scent of pineapple felt like painting with fresh colors. When I lifted the lid, a cloud of minty steam and citrus rose, and the first spoonful was cold silk—velvety banana, gentle avocado, and a lemony brightness that chased away the damp. That afternoon, wrapped in a sweater, glass in hand, I felt oddly indulgent and nourished at once. Since then, whenever the weather dips or I need a mood lift, I reach for the blender. It’s comfort food that keeps me moving rather than slowing me down.
Main Ingredients and What They Bring
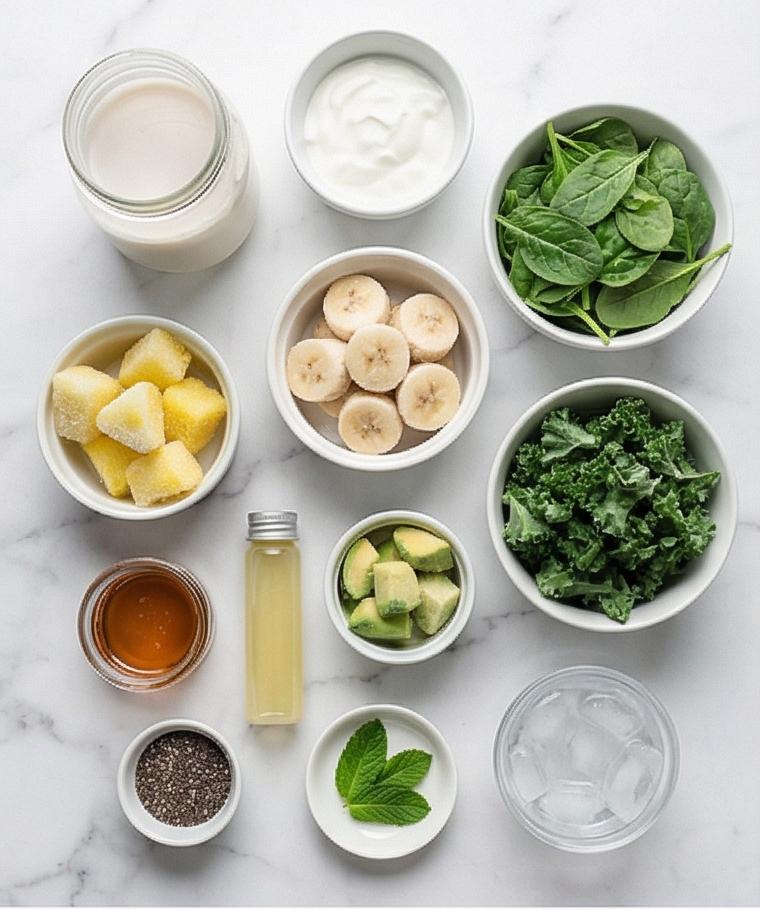
- Almond Milk: A neutral, dairy-free base that thins the smoothie to a drinkable consistency; substitute with oat or soy milk for creamier texture.
- Greek Yogurt: Adds tang, protein, and creaminess; swap for dairy-free coconut or soy yogurt to keep it vegan.
- Baby Spinach: The mild green star that blends smoothly; choose vibrant leaves and wash thoroughly.
- Kale: For deeper color and a nutrient boost; remove tough stems and use sparingly if you dislike bitterness.
- Frozen Banana: Provides body and natural sweetness; ripe bananas freeze best.
- Frozen Pineapple: Brings tropical brightness and acidity; mango works as a substitute.
- Frozen Avocado: Adds silkiness without heavy dairy; use fresh avocado if needed and add a few ice cubes.
- Lemon Juice, Mint, Chia, Maple/Honey: Flavor lift, freshness, texture, and sweetening—adjust to taste.
Essential Kitchen Tools and Why They Matter
A few reliable tools make this Green Goddess Smoothie Recipe effortless. A high-speed blender gives the smooth, velvety texture that separates a good smoothie from a chunky one. A sturdy set of measuring cups and spoons keeps ratios accurate so the balance of greens, fruit, and liquid is just right. A freezer is helpful for pre-freezing bananas, pineapple, and avocado. A fine-mesh strainer is optional if you want an extra-silky finish. Finally, a spatula helps scrape every last bit from the blender, and a couple of clear glasses make the pale-green color pop when you serve.
- High-speed blender: Breaks down fibrous greens and frozen fruit to a creamy finish.
- Measuring cups and spoons: Keep texture and sweetness consistent.
- Freezer: For ready-frozen fruit and ideal chill.
- Fine-mesh strainer: Optional for ultra-smoothness.
- Spatula and serving glasses: For scraping and showing off the color.
Step-by-Step Preparation Guide
Step 1: Prep the greens and frozen fruit
Rinse and thoroughly dry the baby spinach and kale so no extra water will dilute the texture; strip and discard the tough kale stems. Confirm the banana, pineapple, and avocado are frozen solid—if they aren’t, plan to use a small allowance of ice when blending. This is the moment you decide the smoothie’s final chill and body, so picture the leafy piles spun dry and the frozen fruit stacked and ready at room-cold temperature.
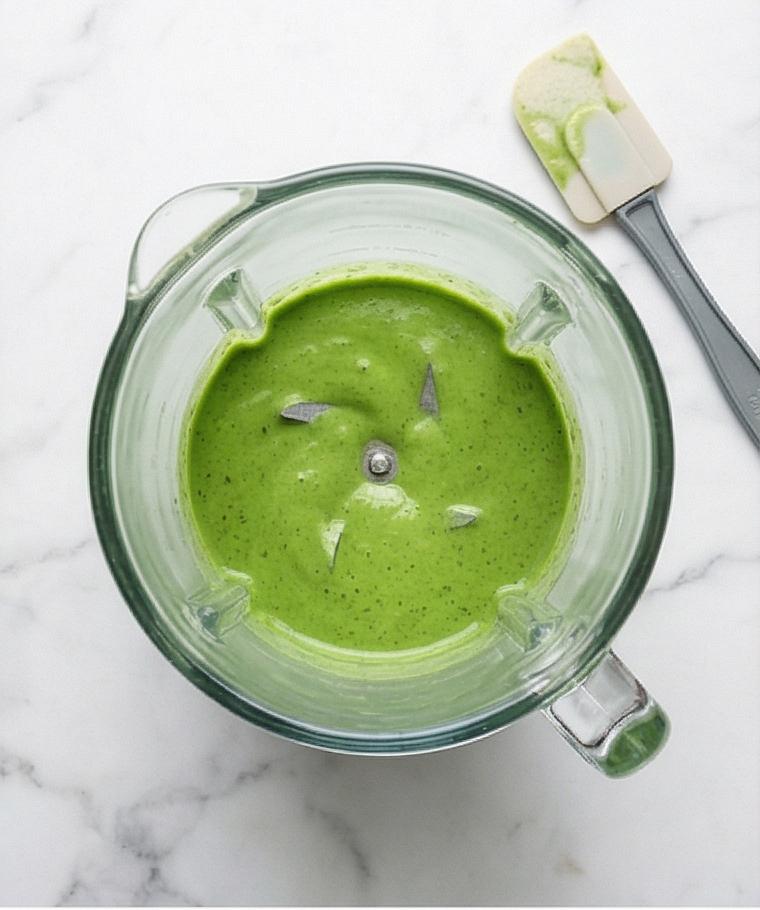
Step 2: Add the liquids and blitz the greens
Pour the chilled almond milk and cold yogurt into the clear blender jar, then add the spinach and kale. Start the blender on low and steadily build to high until the leafy mixture becomes a silky, uniform bright-green purée with no visible flecks—smooth and glossy rather than grainy. This is the first major visual transformation, when leafy texture collapses into a vivid green slurry.
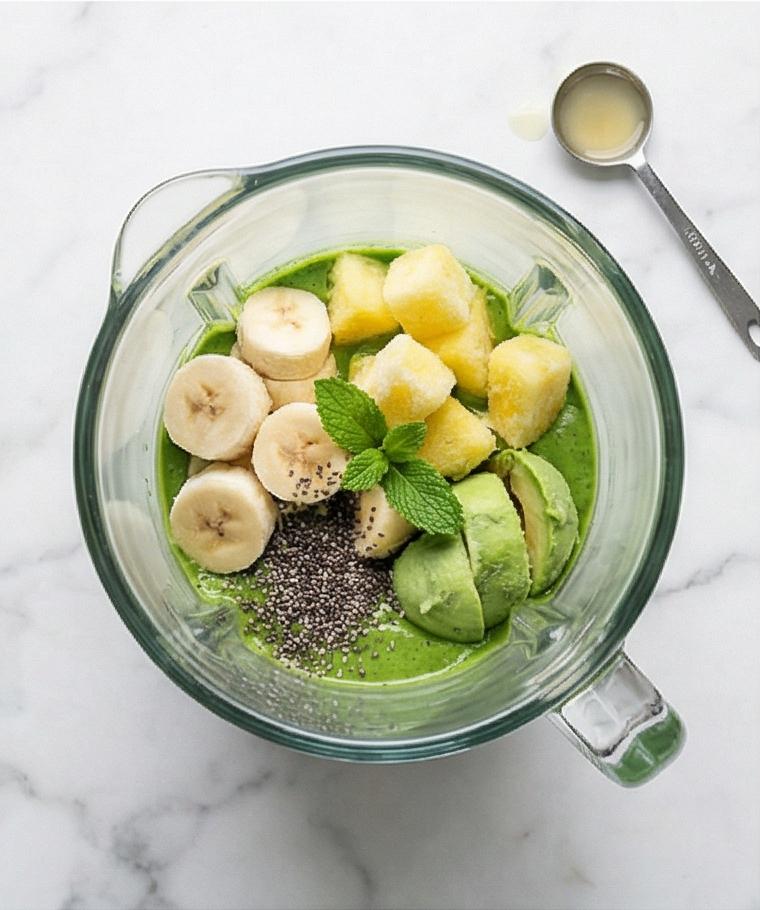
Step 3: Layer frozen fruit and flavorings on the green base
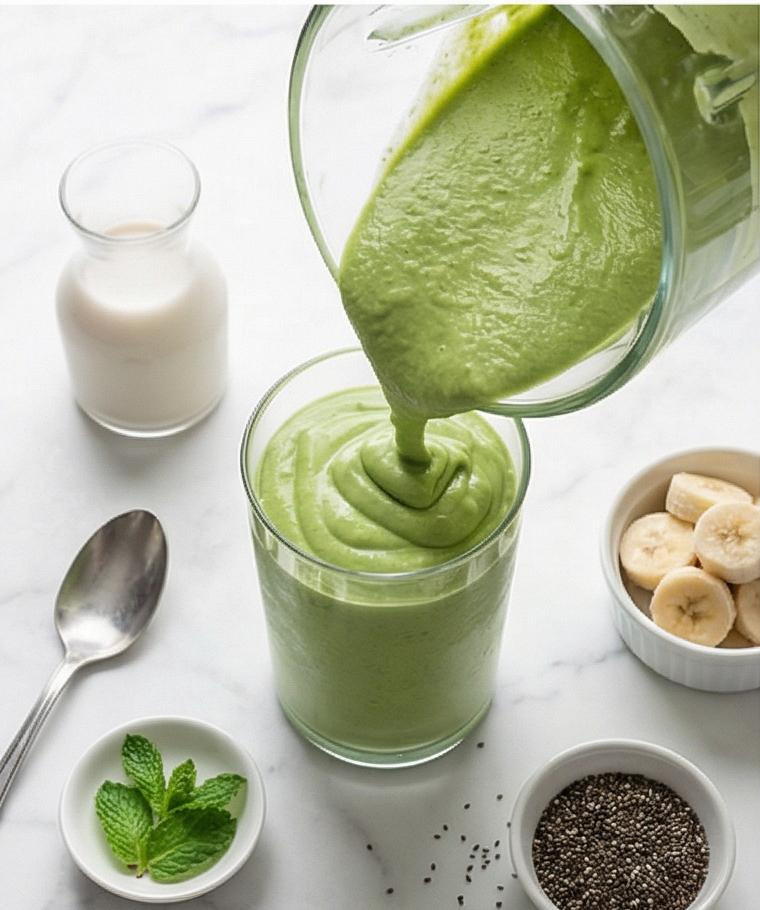
Nest the frozen banana slices, frozen pineapple chunks, and frozen avocado pieces on top of the green purée inside the same blender jar. Add the lemon juice, a handful of mint leaves, a spoonful of chia seeds, and a touch of maple syrup or honey; add ice only if needed for extra thickness. Visually this step reads as a composed, pale frozen heap sitting atop the bright green base—contrast of matte frosted fruit against the slick purée.
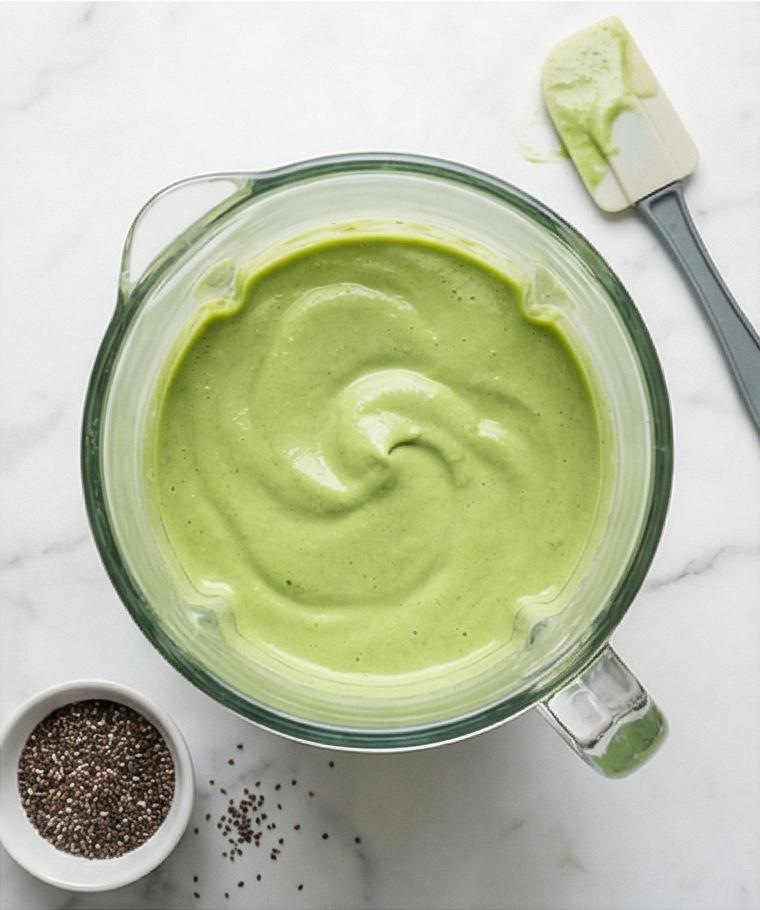
Step 4: Blend to a silky uniform smoothie
Start low to break the frozen pieces, then ramp to high and blend until the mixture becomes totally smooth and homogeneous—creamy, slightly thick, with a satiny surface and no visible chunks. If your blender needs it, pause to scrape and reincorporate so the texture ends perfectly even, like melted soft-serve. The result should be a single-tone pale-green cream with a velvety sheen.
Step 5: Fine-tune thickness and flavor
Check the body: aim for a pourable, soft-serve consistency. If it’s too thick, drizzle in small amounts of almond milk and briefly re-beat; if too thin, add a couple of frozen banana slices or a few ice cubes and re-blend briefly. Taste for brightness and sweetness, brightening with a little extra lemon juice or sweetening with a final teaspoon of maple syrup, then blend just enough to incorporate. The visual result is a glass-ready smoothie that coats a spoon with a creamy ribbon.
Step 6: Serve, garnish, and store notes
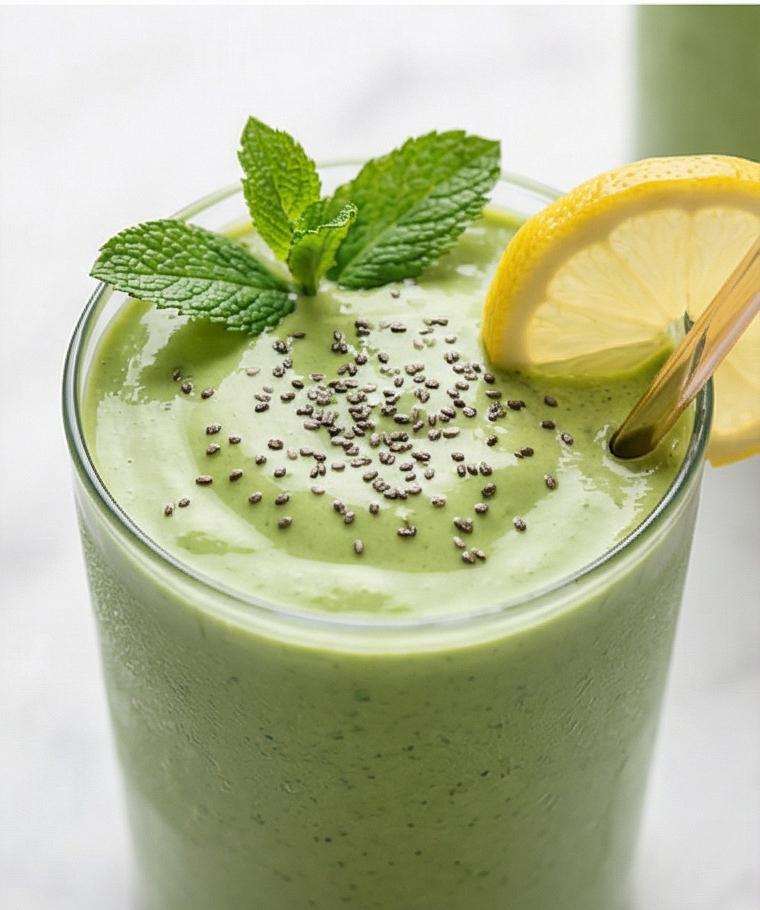
Immediately pour into a large clear serving glass (or two smaller glasses) so the chilled, thick texture and pale-green color read perfectly; tap gently to release large bubbles. Garnish with a light sprinkle of chia seeds, a small mint sprig, and a thin lemon slice perched on the rim. Serve with a straw or spoon and enjoy right away for the brightest color and flavor. If you must store, transfer to an airtight jar, fill to the top, refrigerate and use within 24 hours, then shake or stir before serving.
Making It Your Own
I like to experiment with small swaps. Sometimes I replace pineapple with mango for a creamier tropical note, or I use oat milk for a slightly richer mouthfeel. For a protein boost I fold in a scoop of plain protein powder or replace Greek yogurt with a pea-protein yogurt.
Seasonally, I add a few frozen grapes in the summer for extra sweetness and use a pinch of ground ginger in winter to warm the flavor profile. For a regional twist, stir in a spoonful of tahini for a Middle Eastern spin or a dash of matcha for a Japanese-inspired green kick.
How to Serve
When I host, I make the Green Goddess Smoothie Recipe in a large batch and chill it just enough to keep it spoonable. For a brunch of four, double the ingredients and pre-freeze fruit into portioned bags so the blender never has to catch up. Arrange clear glasses with little mint sprigs and a thin lemon wheel on the rim for a simple, elegant display.
For kids or extra sweetness, rim the glasses with a bit of honey and roll them in finely shredded coconut. If you want a heartier option for breakfast, serve alongside a seeded toast or a bowl of warm oatmeal to add texture contrast.
Storage and Reheating Tips
Smoothies don’t reheat well, but they store nicely for short periods. Pour any leftovers into an airtight jar, fill it nearly to the top to limit oxidation, refrigerate, and use within 24 hours. When you’re ready to drink again, shake or stir vigorously to reincorporate separated ingredients.
If you want longer storage, freeze the smoothie in ice cube trays and reblend a few cubes with a splash of almond milk for an instant fresh texture. Avoid leaving it at room temperature for long, as the vibrant green will dull and flavor will flatten.
Common Mistakes and How to Avoid Them
Using unripe or unfrozen fruit is a frequent slip-up; it makes the smoothie watery and less sweet. Freeze ripe banana slices and pineapple chunks ahead of time so you get that creamy, spoonable body every time.
Another common error is overblending low-power blenders until they heat the mix. Pulse and give the blades breaks, or add more liquid in small amounts to ease blending pressure.
A Final Pour of Encouragement
Give the Green Goddess Smoothie Recipe a try—start with the basic measurements and tweak to your taste. It’s forgiving, vibrant, and a lovely way to get greens into your day. Once you make it a few times, you’ll have your favorite variations and serving rituals.
Frequently Asked Questions.
- What can I use instead of almond milk? You can use oat, soy, or cow’s milk; oat gives a creamier texture while soy adds protein.
- Can I make the Green Goddess Smoothie Recipe vegan? Yes, swap Greek yogurt for a dairy-free yogurt and use maple syrup instead of honey.
- How long will leftovers keep? Stored in an airtight jar in the fridge, drink within 24 hours for best color and flavor.
- Can I add protein powder? Absolutely, add a scoop of your favorite protein powder and adjust almond milk to keep the texture smooth.
- What if my blender struggles with frozen fruit? Let frozen fruit sit 5 minutes to soften slightly, use the pulse setting, or add a splash more almond milk.
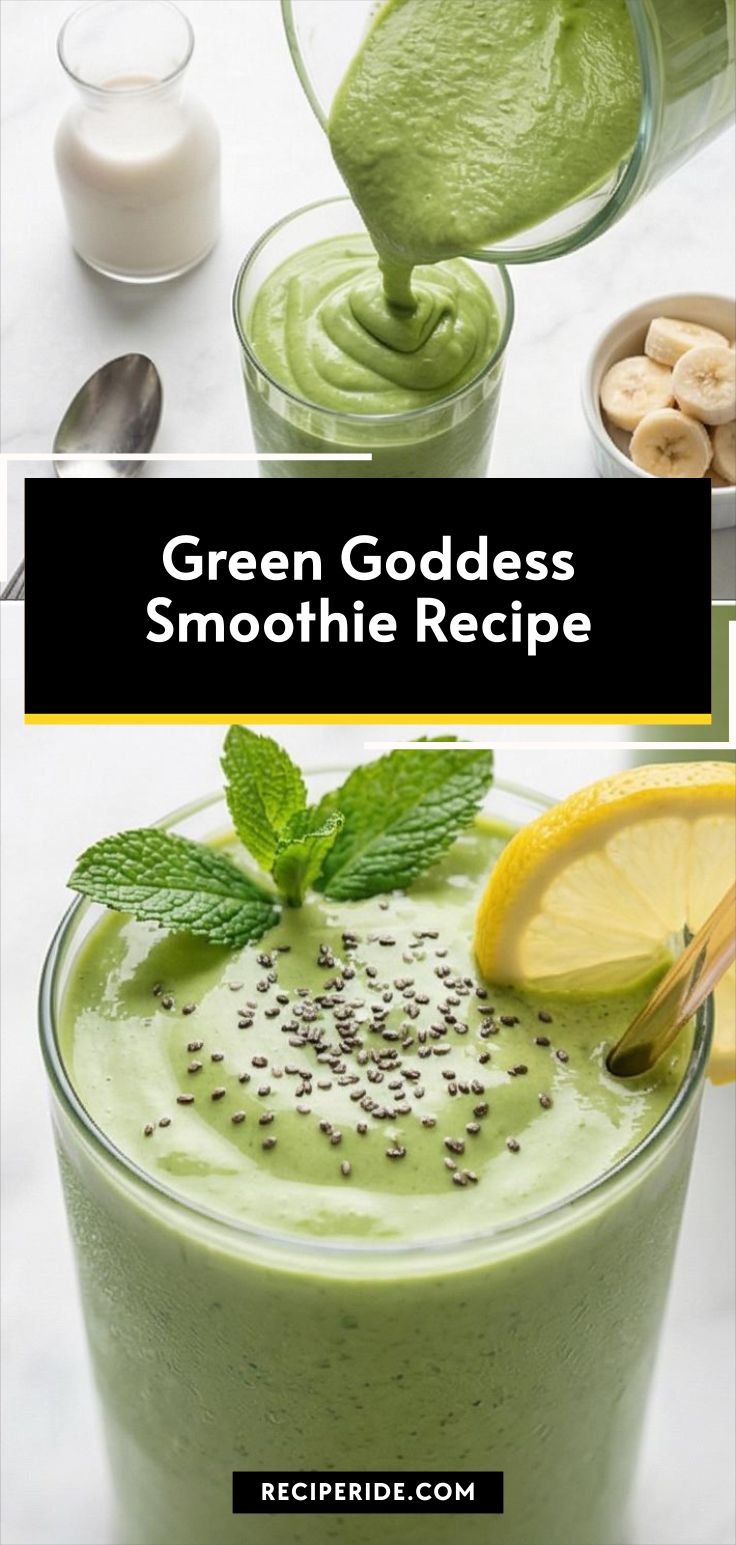
Green Goddess Smoothie Recipe
Blend a creamy Green Goddess Smoothie Recipe in minutes for a bright, nutrient-packed start to your day.
Ingredients
Instructions
Step 1: Prep the greens and frozen fruit
Rinse and thoroughly dry the baby spinach and kale so no extra water will dilute the texture; strip and discard the tough kale stems. Confirm the banana, pineapple, and avocado are frozen solid—if they aren’t, plan to use a small allowance of ice when blending. This is the moment you decide the smoothie’s final chill and body, so picture the leafy piles spun dry and the frozen fruit stacked and ready at room-cold temperature.
Step 2: Add the liquids and blitz the greens
Pour the chilled almond milk and cold yogurt into the clear blender jar, then add the spinach and kale. Start the blender on low and steadily build to high until the leafy mixture becomes a silky, uniform bright-green purée with no visible flecks—smooth and glossy rather than grainy. This is the first major visual transformation, when leafy texture collapses into a vivid green slurry.
Step 3: Layer frozen fruit and flavorings on the green base
Nest the frozen banana slices, frozen pineapple chunks, and frozen avocado pieces on top of the green purée inside the same blender jar. Add the lemon juice, a handful of mint leaves, a spoonful of chia seeds, and a touch of maple syrup or honey; add ice only if needed for extra thickness. Visually this step reads as a composed, pale frozen heap sitting atop the bright green base—contrast of matte frosted fruit against the slick purée.
Step 4: Blend to a silky uniform smoothie
Start low to break the frozen pieces, then ramp to high and blend until the mixture becomes totally smooth and homogeneous—creamy, slightly thick, with a satiny surface and no visible chunks. If your blender needs it, pause to scrape and reincorporate so the texture ends perfectly even, like melted soft-serve. The result should be a single-tone pale-green cream with a velvety sheen.
Step 5: Fine-tune thickness and flavor
Check the body: aim for a pourable, soft-serve consistency. If it’s too thick, drizzle in small amounts of almond milk and briefly re-beat; if too thin, add a couple of frozen banana slices or a few ice cubes and re-blend briefly. Taste for brightness and sweetness, brightening with a little extra lemon juice or sweetening with a final teaspoon of maple syrup, then blend just enough to incorporate. The visual result is a glass-ready smoothie that coats a spoon with a creamy ribbon.
Step 6: Serve, garnish, and store notes
Immediately pour into a large clear serving glass (or two smaller glasses) so the chilled, thick texture and pale-green color read perfectly; tap gently to release large bubbles. Garnish with a light sprinkle of chia seeds, a small mint sprig, and a thin lemon slice perched on the rim. Serve with a straw or spoon and enjoy right away for the brightest color and flavor. If you must store, transfer to an airtight jar, fill to the top, refrigerate and use within 24 hours, then shake or stir before serving.
Notes
- Use ripe bananas for best sweetness and texture.
- Freeze fruit in single layers before storing to prevent clumping.
- Adjust maple syrup or honey to taste; lemon brightens more than you expect.
- For a thicker smoothie, add an extra frozen banana or a few ice cubes.
- Store leftovers in an airtight jar and use within 24 hours.
