Sea Salt and Vinegar Kale Chips have become my go-to snack when I want something crunchy, tangy, and surprisingly satisfying. I started making these after a weekend of experimenting with bold flavors, and the result was an instant keeper. The bright hit of apple cider vinegar, the kiss of olive oil, and just enough coarse sea salt transform humble kale into something irresistible. If you think kale chips are just wilted leaves, these Sea Salt and Vinegar Kale Chips will change your mind.
I love how simple the ingredients are and how reliably crisp the chips turn out when you treat the leaves right. The recipe is forgiving but rewards a little attention to drying and massaging the kale. These chips travel well to picnics, vanish at parties, and make weekday snacking feel a little more special.
How This Recipe Became My Rainy-Day Favorite
A few years ago I had one of those gray, rainy afternoons that begged for something comforting but not heavy. I dug through the fridge and found a bunch of curly kale that needed saving. I tried a splash of apple cider vinegar, a drizzle of olive oil, and a scatter of coarse sea salt, then massaged the leaves until they softened and shone. The scent of vinegar and roasted greens in the oven felt oddly nostalgic, like the savory cousin of a citrus-spritzed dessert. When they emerged perfectly crisp, I remember sitting on the kitchen floor with a greedy handful and a mug of tea, marveling at how a few humble ingredients could turn a damp day into a small celebration. That cozy, slightly guilty pleasure stuck with me, and Sea Salt and Vinegar Kale Chips are what I make when I want comfort that still feels light.
The Building Blocks of Flavor
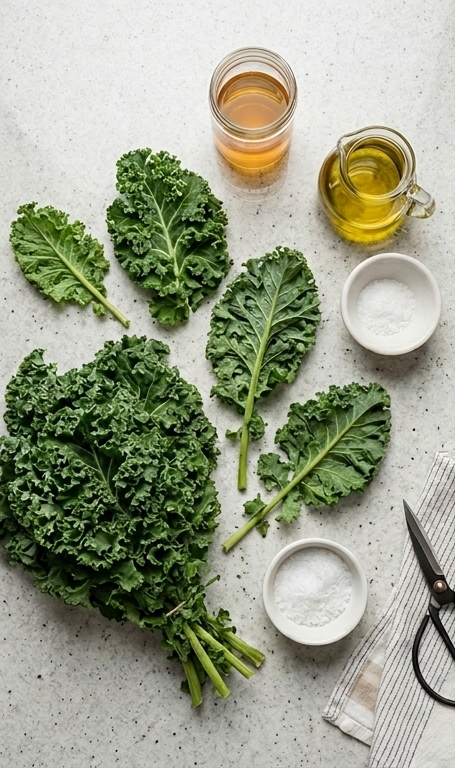
- Kale: The star of the show. Curly kale gives great texture and crispness, while Lacinato (“dino”) kale is sturdier and offers deeper, earthier notes. Substitute with Swiss chard or collard greens for a heartier chip, but adjust baking time to avoid toughness.
- Vinegar: Apple cider vinegar brings bright tang and helps the leaves crisp while adding a subtle fruitiness. White wine vinegar or malt vinegar work too for a sharper profile.
- Olive Oil: A light coating of olive oil helps the salt cling and promotes even browning. Use a neutral oil like avocado if you want a less pronounced flavor.
- Coarse Sea Salt: Provides crunchy bursts of salinity. Fine salt will dissolve and taste milder, so use coarse or flaky salt if you want texture.
Essential Tools for Crisp Results
A few simple tools make a big difference to the outcome. A rimmed baking sheet gives the leaves space to spread and crisp; a rim keeps stray chips from tumbling into the oven. Parchment paper prevents sticking and makes cleanup painless. A large mixing bowl is essential for massaging the kale without making a mess. A salad spinner or clean kitchen towels help get the leaves dry so they roast instead of steam. Finally, a sharp knife removes thick ribs quickly and evenly. If you don’t have a salad spinner, take the time to blot the leaves thoroughly with towels; it really matters for crunch.
- Baking sheet:
- Parchment paper:
- Large mixing bowl:
- Salad spinner or clean towels:
- Sharp knife:
Step-by-Step Preparation Guide.
Step 1: Preheat and cleanse the kale
Preheat the oven to 350°F, then wash and thoroughly dry the kale leaves so they crisp cleanly in the oven. Using a sharp knife remove the thick central ribs and discard them, then tear or cut the remaining leafy greens into chip-sized pieces — remember they will shrink while baking. Work gently so the leaves stay intact and lay them out briefly on a clean towel or paper to finish drying; this little extra dryness helps them go ultra-crispy.
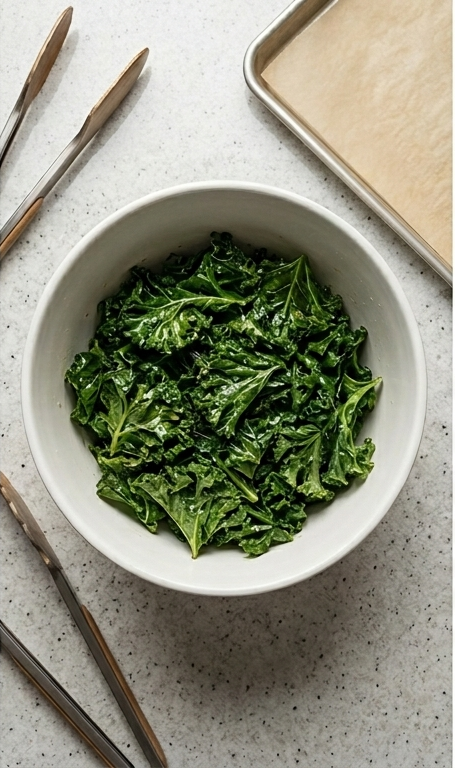
Step 2: Dress and massage until glossy
Place the torn kale into a large matte white ceramic mixing bowl. Add the apple cider vinegar, olive oil and a portion of the coarse sea salt. With your hands (or a sturdy pair of tongs, if you prefer), toss and massage the leaves for one to two minutes until the leaves soften, darken slightly and take on a faint glossy sheen from the oil and vinegar — you should see the salt crystals begin to cling to the textured leaf surfaces and small pockets of wilt where flavor has penetrated. This softened, seasoned mass is the main milestone: the kale transformed from raw rigidity to flexible, flavored leaves ready to bake.
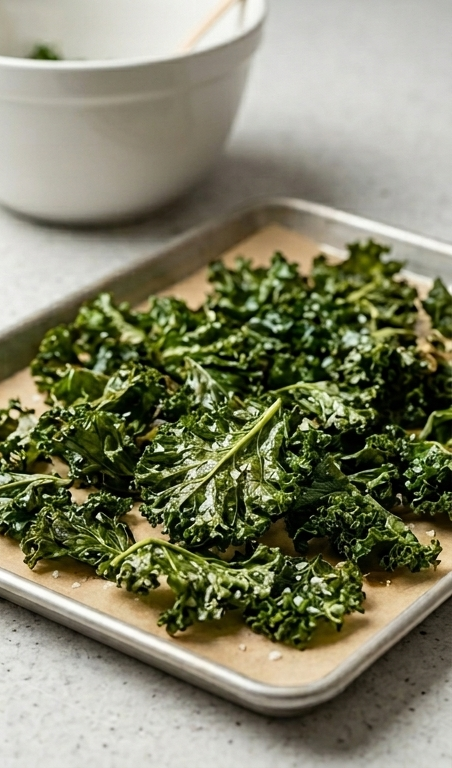
Step 3: Arrange on parchment and crisp
Spread the massaged kale out in a single even layer on a parchment-lined rectangular rimmed baking sheet, sprinkle the remaining salt over the top, and slide the sheet onto the hot surface to bake. Roast for seven to ten minutes, watching closely toward the end – you want a uniform brittle snap without burning, edges curled and leaves fully dry and crackling. Remove the tray promptly when crisp and let cool a moment so the chips set their final texture.
Step 4: Serve, showcase, and store
Transfer the finished chips back onto the same rectangular baking sheet or a similar shallow rectangular platter for serving, keeping the geometric shape consistent with the baking vessel. Present the chips as a loose mound with some stray leaves scattered to suggest generosity; the surface should show visible coarse salt crystals, curled crispy edges, and a subtle glossy hint from the oil and vinegar. Serve immediately for maximum crunch, or allow to cool completely and store in a sealed container for up to a week.
Making It Your Own
I like to experiment with small tweaks. Try swapping malt vinegar for a British-inspired tang or sprinkling smoked paprika for depth. For a vegan umami boost, dust with nutritional yeast after baking; it gives a cheesy note without dairy. If you want a sweeter counterpoint, a light dusting of granulated sugar or a tiny drizzle of maple after baking can be delicious.
For a spicy version, add a pinch of cayenne to the salt or a dusting of chili powder. If you need the recipe to be kid-friendly, reduce the vinegar a little and add a squeeze of lemon for familiarity. Seasonal tweaks work well too: in autumn, a pinch of ground cumin or pumpkin pie spice can feel cozy and unexpected.
How to Serve
If I’m hosting, I arrange Sea Salt and Vinegar Kale Chips in shallow bowls for easy sharing and sprinkle a few extra coarse salt crystals on top for visual contrast. Serve alongside hummus, yogurt-based dips, or a bright onion dip so guests can choose creamy pairings. For a more composed appetizer, scatter chopped roasted nuts or seeds over the chips for texture and set little tasting spoons nearby.
To scale up, use multiple baking sheets and rotate trays mid-bake to keep heat even. For a casual movie night, make several batches and keep them in airtight containers so they stay crunchy for hours. They also make a terrific salad topper, adding crunch and acidity in place of croutons.
Storage and Reheating Tips
Store cooled chips in an airtight container with a paper towel to absorb any lingering moisture. They keep best at room temperature rather than in the fridge where humidity can soften them. If they do lose their snap, a brief 3 to 5 minute re-toast in a 275°F oven will revive their crispness.
If you plan to store for more than a couple of days, make sure the chips are fully cool before sealing. Excess steam trapped inside the container is the main culprit for limp chips, so patience after baking pays off.
Common Pitfalls and How to Avoid Them
One common mistake is baking wet leaves. If the kale is even a little damp, it will steam and never crisp. Spin or towel-dry thoroughly and give leaves a minute to air-dry before dressing. Another easy slip is overcrowding the pan – leaves need space to roast, so use two sheets if necessary.
Over-baking can turn great chips into bitter scraps. Watch closely in the final minutes; remove trays as soon as the leaves crack and fall into a brittle snap. Taste early on and adjust salt to your liking, since coarse sea salt can be more punchy than table salt.
Ready When You Are
I hope you give Sea Salt and Vinegar Kale Chips a try and that they become a small ritual in your kitchen. They are quick, satisfying, and endlessly adaptable, and they make snacking feel like a thoughtful moment rather than a default grab. Share them at your next gathering or keep them all to yourself – either way, they make ordinary days a bit brighter.
Frequently Asked Questions.
- Can I use a different type of vinegar for Sea Salt and Vinegar Kale Chips? Yes. Apple cider vinegar is mellow and fruity, but white wine vinegar, malt vinegar, or even rice vinegar can work – each lends a different brightness.
- How long do the chips stay crisp? Stored in an airtight container at room temperature, they usually stay crisp for up to a week. Keep them fully cool before sealing to avoid steam.
- Can I make these in a dehydrator? You can, but keep an eye on texture. Dehydrators remove moisture more slowly, so the flavor will be similar but timing will be longer.
- Are these suitable for meal prep? Absolutely. They make a great crunchy topping for salads and are easy to batch. Just re-crisp briefly in a low oven if needed.
- What if my chips come out chewy instead of crisp? The main reasons are moisture or overcrowding. Dry the leaves fully and give them space on the baking sheet; also watch the oven toward the end so they don’t get soft.
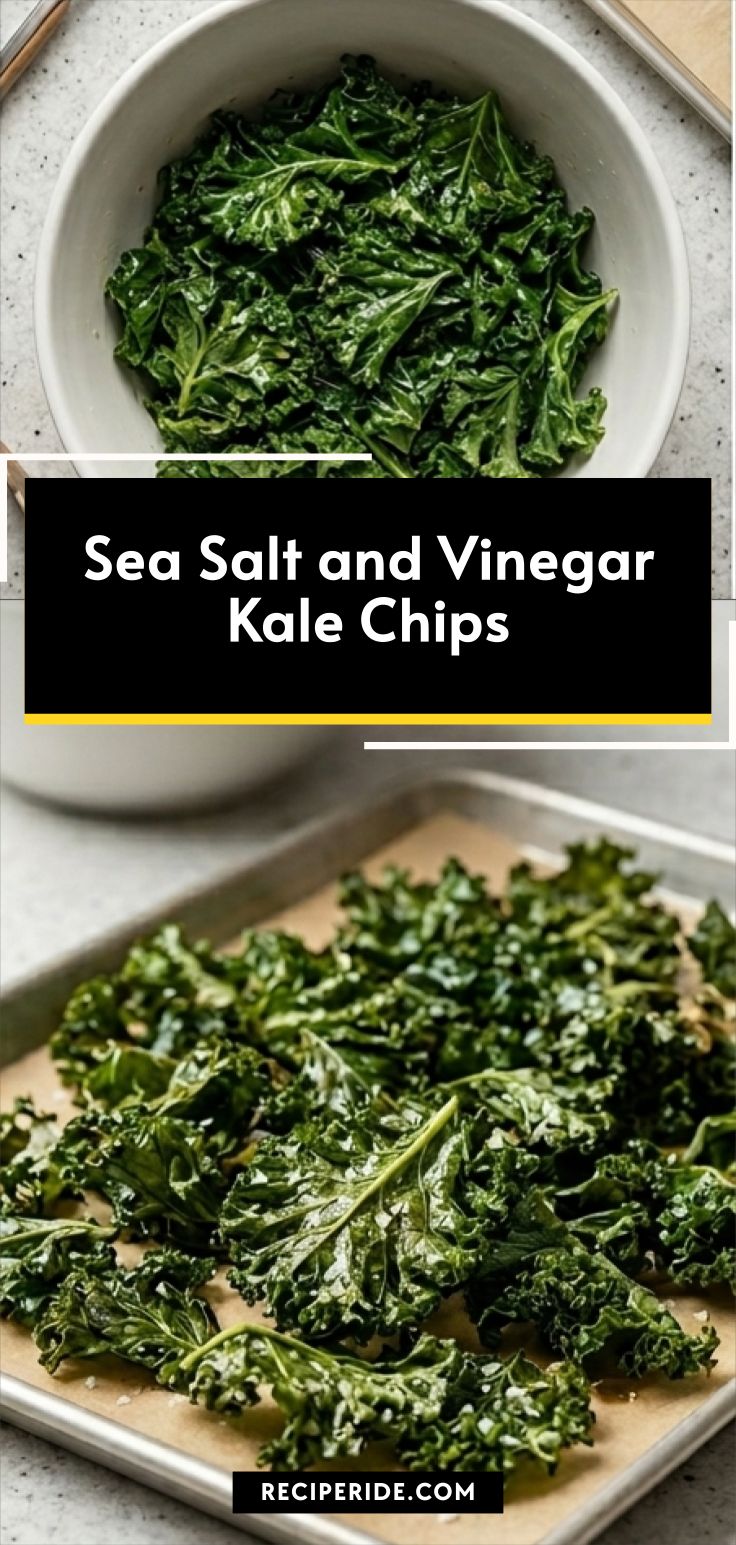
Sea Salt and Vinegar Kale Chips
Make Sea Salt and Vinegar Kale Chips for a tangy, crunchy snack in minutes with simple ingredients.
Ingredients
Instructions
Step 1: Preheat and cleanse the kale
Preheat the oven to 350°F, then wash and thoroughly dry the kale leaves so they crisp cleanly in the oven. Using a sharp knife remove the thick central ribs and discard them, then tear or cut the remaining leafy greens into chip-sized pieces — remember they will shrink while baking. Work gently so the leaves stay intact and lay them out briefly on a clean towel or paper to finish drying; this little extra dryness helps them go ultra-crispy.
Step 2: Dress and massage until glossy
Place the torn kale into a large matte white ceramic mixing bowl. Add the apple cider vinegar, olive oil and a portion of the coarse sea salt. With your hands (or a sturdy pair of tongs, if you prefer), toss and massage the leaves for one to two minutes until the leaves soften, darken slightly and take on a faint glossy sheen from the oil and vinegar — you should see the salt crystals begin to cling to the textured leaf surfaces and small pockets of wilt where flavor has penetrated. This softened, seasoned mass is the main milestone: the kale transformed from raw rigidity to flexible, flavored leaves ready to bake.
Step 3: Arrange on parchment and crisp
Spread the massaged kale out in a single even layer on a parchment-lined rectangular rimmed baking sheet, sprinkle the remaining salt over the top, and slide the sheet onto the hot surface to bake. Roast for seven to ten minutes, watching closely toward the end — you want a uniform brittle snap without burning, edges curled and leaves fully dry and crackling. Remove the tray promptly when crisp and let cool a moment so the chips set their final texture.
Step 4: Serve, showcase, and store
Transfer the finished chips back onto the same rectangular baking sheet or a similar shallow rectangular platter for serving, keeping the geometric shape consistent with the baking vessel. Present the chips as a loose mound with some stray leaves scattered to suggest generosity; the surface should show visible coarse salt crystals, curled crispy edges, and a subtle glossy hint from the oil and vinegar. Serve immediately for maximum crunch, or allow to cool completely and store in a sealed container for up to a week.
Notes
- Dry the kale thoroughly to ensure crispness.
- Massage the leaves well so the vinegar and oil penetrate.
- Watch the oven closely in the last 2 minutes to avoid burning.
- Store cooled chips in an airtight container with a paper towel to absorb moisture.


