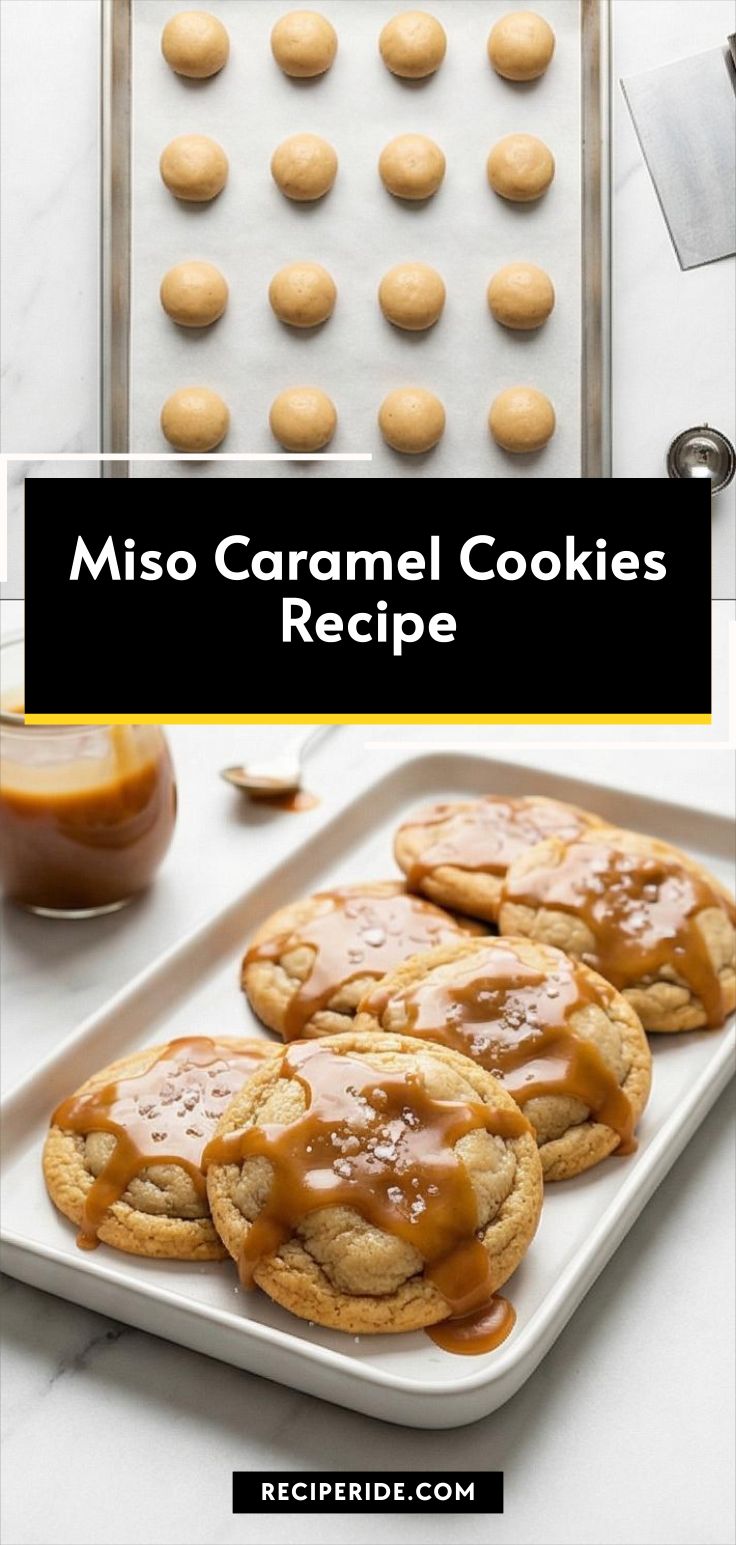
Miso Caramel Cookies Recipe
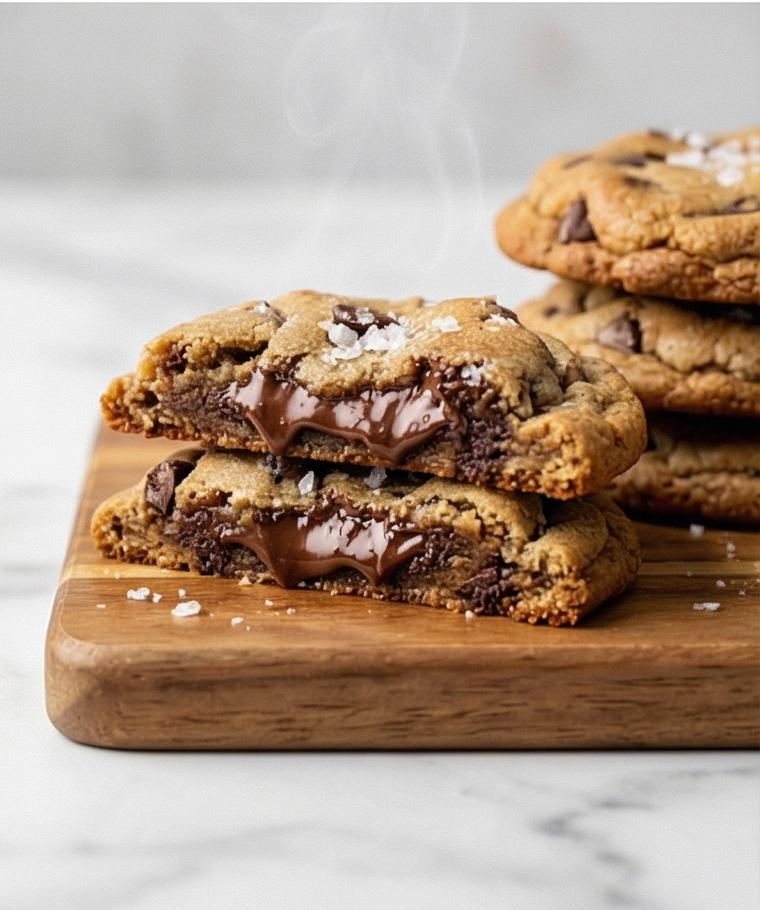
I remember the first time I baked the Miso Caramel Cookies Recipe: the kitchen smelled like toasted sugar and something savory that made everyone glance up from their work. I started with curiosity, then kept going because the balance of sweet, salty, and umami surprised the whole family. These cookies became my go-to when I wanted a small, confident dessert that feels special but is easy to make. If you love contrasts in flavor and a little shine on your cookies, this recipe is a quiet showstopper.
How This Recipe Became My Rainy-Day Favorite
There was a rainy afternoon where I was craving something comforting and a little adventurous, so I grabbed white miso from the fridge and played with the idea of pairing it with caramel. The first batch sizzled while I watched the sugar turn amber, and as I whisked in cream the caramel smelled like browned butter and toffee. When the cookies came out with soft centers and crisp edges and I drizzled that glossy miso caramel on top, the family lined up with mugs and warm smiles. It felt like a small culinary discovery, the kind you repeat until it becomes a habit. Every time I bake the Miso Caramel Cookies Recipe now, I get that same warm, slightly mischievous satisfaction.
Main Ingredients and Why They Matter
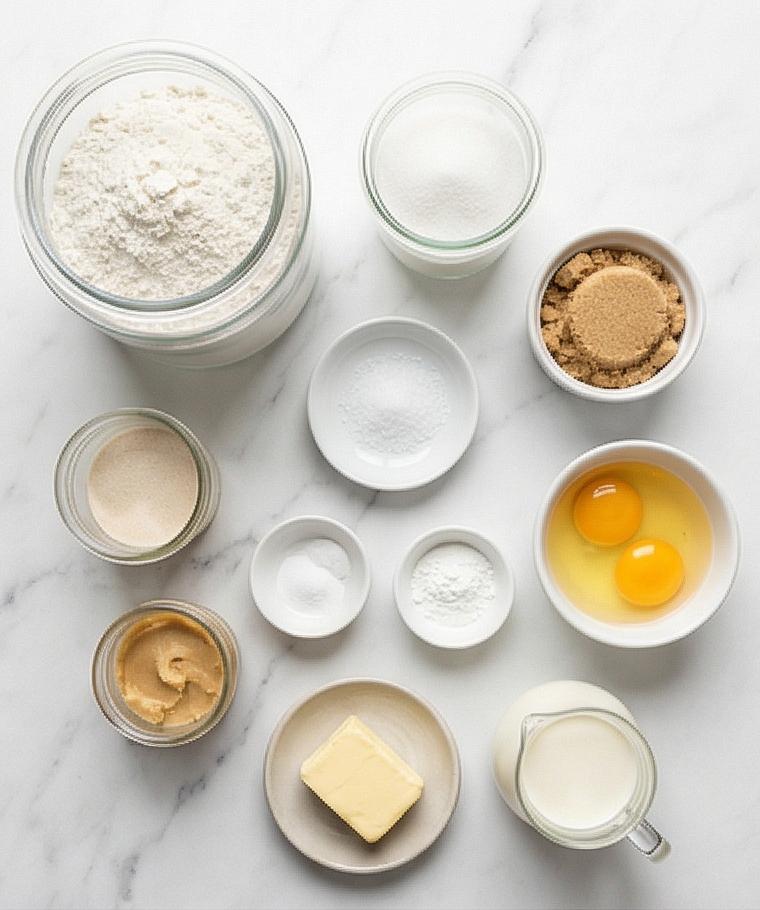
- All-Purpose Flour: Provides structure and a tender crumb; swap with pastry flour for a softer cookie or a gluten-free blend made for baking if needed. Choose unbleached for cleaner flavor.
- Unsalted Butter: Builds flavor and spread; if using salted, reduce the flaky sea salt when finishing. Soft but not melted is best.
- Sugars (Brown and Granulated): Brown sugar adds moisture and depth while granulated controls spread and crisping; light brown gives a gentle molasses note.
- White Miso: The secret umami lift that deepens caramel notes; yellow miso works too, but avoid red miso unless you want a stronger savory edge.
- Egg and Egg Yolk: Give richness and chew; room temperature helps emulsify the batter.
- Cream and Water: For the caramel, cream adds silkiness while water helps the sugar melt evenly.
Essential Kitchen Tools
Start with a few reliable tools and you can skip fancy equipment. These tools matter because they help with texture, timing, and the final presentation.
- Stand mixer or hand mixer: For creaming butter and sugars; use a sturdy whisk and elbow grease if you don’t have one.
- Medium mixing bowls: For dry-wet separation and easier folding; glass or stainless both work.
- Silicone spatula: For scraping and folding without deflating the dough.
- Cookie scoop and bench scraper: For consistent portions and tidy rolling; measure with spoons if needed.
- Saucepan with heavy bottom: For even caramel cooking; a heavy pan prevents hot spots.
- Wire rack and baking sheet: For proper cooling and even baking; line sheets with parchment or silicone mats as alternatives.
Step-by-Step Preparation Guide
Step 1: Whisk the dry ingredients together
In a medium mixing bowl whisk the all-purpose flour with the baking soda, baking powder, and fine sea salt until evenly combined and aerated. Work gently and keep everything on the marble surface: the dry mixture should look light, powdery, uniform in color, and free of lumps. This is the foundational, quiet step that sets the cookie structure and texture.
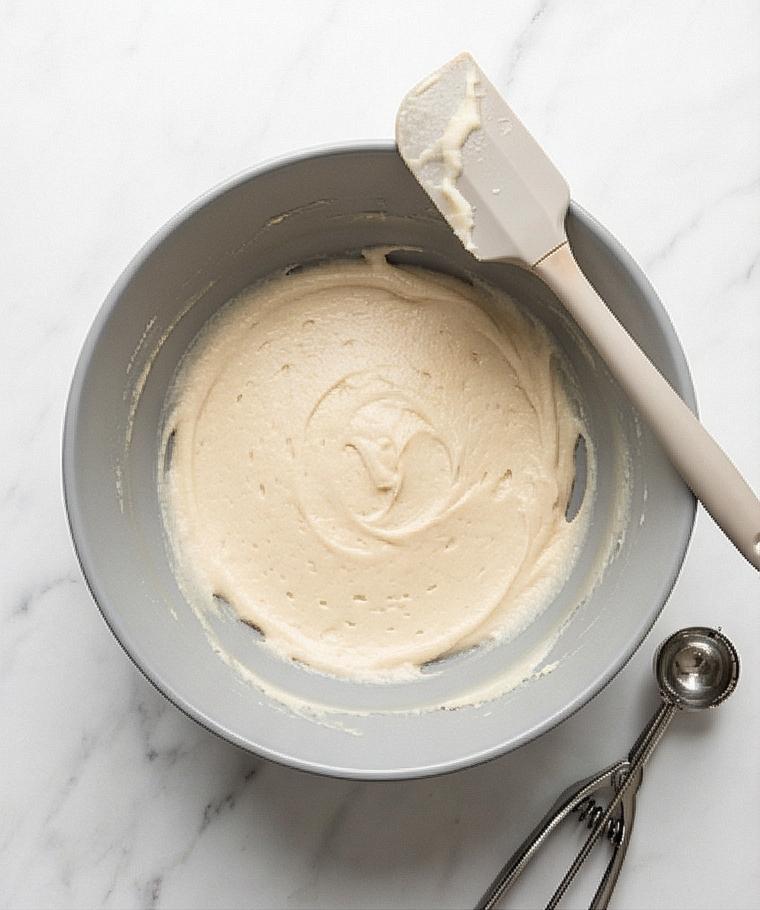
Step 2: Cream butter, sugars, and miso until pale and airy
In the same matte grey ceramic mixing bowl, combine the room-temperature butter, packed light brown sugar, the measured granulated sugar for the dough, and three tablespoons of white miso paste. Beat until the mixture is pale, light, and fluffy with no visible miso streaks—creamy, aerated, and slightly glossy. Scrape the sides with a worn silicone spatula so the texture reads perfectly smooth and uniform across the bowl.
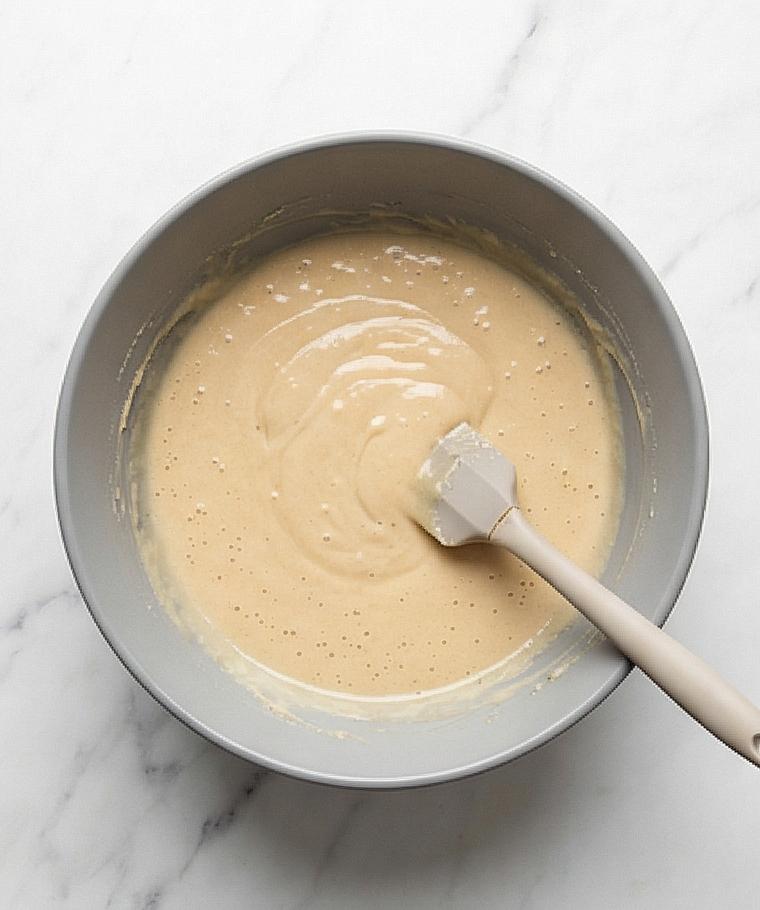
Step 3: Emulsify eggs and vanilla into the creamed base
Add the whole egg, the egg yolk, and one teaspoon of vanilla, then beat on medium until fully emulsified. The result should be a glossy, cohesive batter where the fat and liquid are harmonized: glossy ribbons, no oily separation, the mix slightly thicker and silkier than before. Keep the same bowl and spatula nearby—this continuity preserves utensil memory in the visual story.
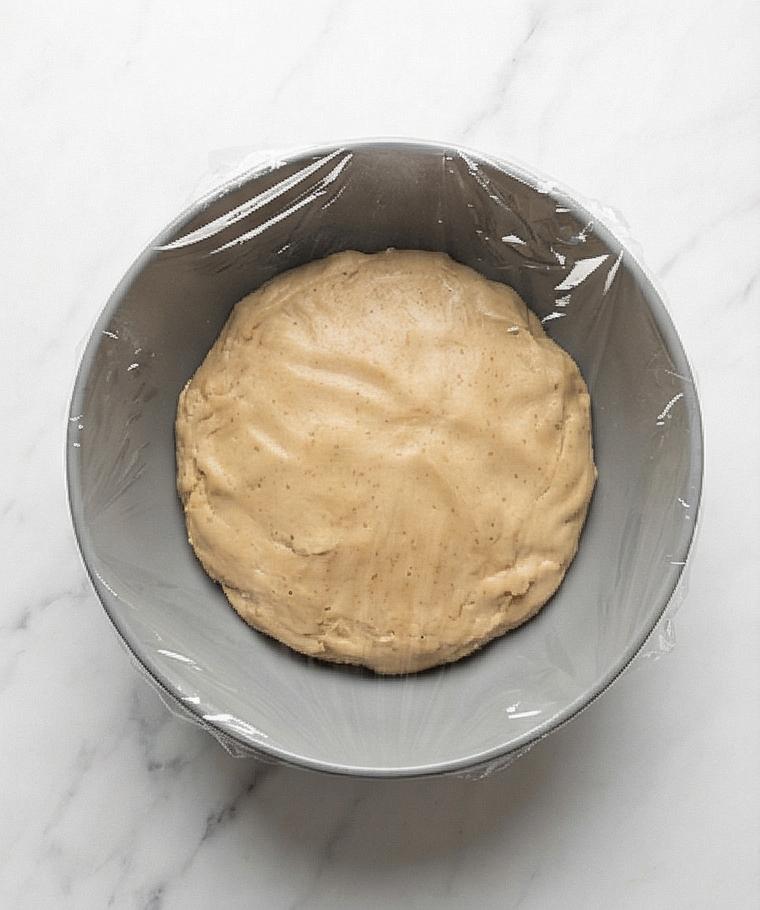
Step 4: Fold in the dry mix and form the dough, then chill
Add the whisked dry ingredients into the bowl and mix just until incorporated—stops when no dry pockets remain. Use the spatula for a final gentle fold so the dough is thick, soft, and slightly tacky; if it feels very sticky note that chilling will firm it up. Cover the bowl tightly with plastic wrap or a reusable cover and set it on the marble to chill until firm to the touch. The chilled dough should read dense, cohesive, and pliable when pressed.
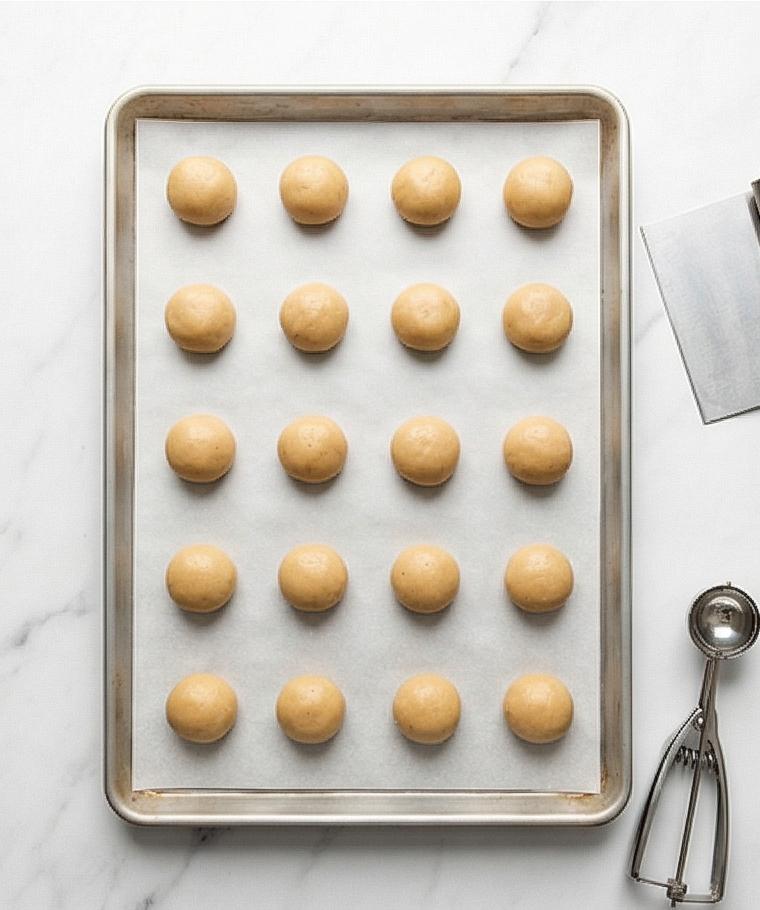
Step 5: Portion dough into smooth balls on a parchment-lined sheet
Scoop and roll the chilled dough into equal 1 1/2-tablespoon balls, forming smooth, taut spheres and arranging them on a rectangular parchment-lined baking sheet, spaced to control spreading. The dough balls should be matte with faint surface dimples from rolling—perfect, uniform spheres that hint at chewy centers and crisp edges after baking. A metal cookie scoop and a small bench scraper sit nearby, quietly signaling the action that produced them.
Step 6: Bake, cool on the sheet briefly, then transfer to a wire rack
After baking until the edges are set and centers puffed and lightly golden, let the cookies rest on the hot sheet for a few minutes then transfer to a wire rack to cool completely. The cooled cookies should read warm-golden at the edges with soft, pillowy centers—flat, round discs with a slightly craggy surface that will catch caramel beautifully.
Step 7: Cook and finish the miso caramel to a spoonable gloss
Warm the cream and reserved butter until steaming, then cook the remaining granulated sugar with water to a deep amber syrup and carefully whisk in the warm cream-and-butter until smooth. Whisk in the remaining miso, vanilla, and flaky sea salt off heat until glossy and completely emulsified. The finished caramel should be slow-flowing, amber and mirror-like—thick enough to cling to a spoon but fluid enough to drizzle. Keep it in a small pourable ceramic jug or jar on the marble so it reads as an ingredient-ready vessel.
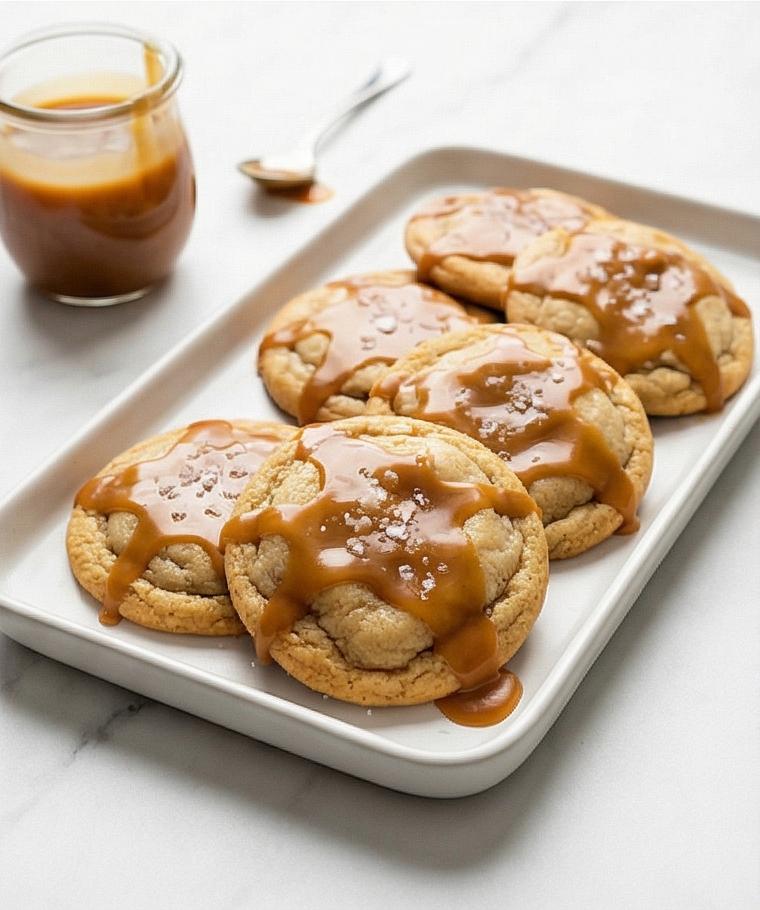
Step 8: Drizzle, sprinkle flaky salt, and rest before serving
Once the cookies are fully cool, generously drizzle the warm miso caramel across each cookie in flowing zigzags or small central pools; the caramel should trail and cling, forming glossy ribbons and tiny pools. While still soft, finish each cookie with a faint pinch of flaky sea salt to create shiny crystallized highlights. Let the caramel settle to a soft chew at room temperature before serving.
Making It Your Own
I like to nudge the recipe toward seasons and diets with small swaps. Try coconut sugar and a gluten-free all-purpose blend if you need a gluten-free treat; the cookies will be a bit denser but still rich. For a dairy-free twist, replace butter with a plant-based stick and use coconut cream for the caramel, though flavor will shift toward coconut and the caramel may firm more. Swap a tablespoon of brown sugar for maple syrup to add a woodsy note. For a festive version, fold in chopped toasted almonds or thin shards of dark chocolate just before baking.
How to Serve
When hosting, arrange Miso Caramel Cookies Recipe on a simple platter with a few whole miso spoons and a small jug of extra caramel for dramatic refills. For a dessert flight, pair each cookie with a petite scoop of vanilla or miso-inflected ice cream and a short espresso. If serving larger groups, make two batches and stagger baking so fresh cookies come out warm. For a tea gathering, cut the portions smaller and serve two cookies per person with pot after pot of green or oolong tea to balance the sweet-salty profile.
Storage and Reheating Tips
Store cooled cookies in an airtight container at room temperature for up to 3 days; put a piece of parchment between layers to keep surfaces glossy and avoid sticking. If the caramel softens too much, a short chill in the refrigerator firms it; let the cookies sit at room temperature a few minutes before serving so the caramel loosens.
For longer storage, freeze baked cookies in a single layer on a tray until solid, then transfer to a freezer-safe bag for up to 3 months. Thaw at room temperature for 20 to 30 minutes and, if you like the caramel warm, microwave a single cookie for 6 to 8 seconds or warm briefly in a low oven.
Common Mistakes and How to Avoid Them
Overcooking the caramel is an easy slip; watch the color and remove it from heat at the right amber point, then whisk in warm cream to stop the cooking. If you see dark smoke, you are past the sweet spot.
Using melted butter for the dough changes spread dramatically; keep butter at room temperature, not melted, to maintain the intended chew and edge. Finally, don’t skip chilling—cold dough controls spread and keeps centers tender.
Final Encouragement
Give the Miso Caramel Cookies Recipe a try even if miso feels unfamiliar; it disappears into the caramel while lifting the whole flavor. The combination of chewy cookies and glossy, salty-sweet caramel is worth the few extra minutes of caramel cooking. Bake a batch, share them, and notice how people react when a familiar cookie shows surprising depth.
Frequently Asked Questions.
- What kind of miso should I use for Miso Caramel Cookies Recipe? Use white or yellow miso for a gentle umami lift; they blend smoothly without overpowering the caramel.
- Can I make the dough ahead? Yes, chill the dough up to 48 hours or freeze shaped balls for up to a month and bake from frozen with an extra minute or two.
- How do I know when the caramel is ready? Look for a deep amber color and a slow, glossy flow; remove from heat and whisk in warm cream to stop cooking.
- Are these cookies suitable for a dinner party? Absolutely, Miso Caramel Cookies Recipe is elegant and easy to scale; serve with coffee or a small scoop of ice cream.
- Can I use salted butter? You can, but reduce or omit the finishing flaky sea salt to avoid over-salting.
Miso Caramel Cookies Recipe
Make Miso Caramel Cookies Recipe: bake glossy, salty-sweet cookies with miso caramel in under an hour.
Ingredients
Instructions
Step 1: Whisk the dry ingredients together
In a medium mixing bowl whisk the all-purpose flour with the baking soda, baking powder, and fine sea salt until evenly combined and aerated. Work gently and keep everything on the marble surface: the dry mixture should look light, powdery, uniform in color, and free of lumps. This is the foundational, quiet step that sets the cookie structure and texture.
Step 2: Cream butter, sugars, and miso until pale and airy
In the same matte grey ceramic mixing bowl, combine the room-temperature butter, packed light brown sugar, the measured granulated sugar for the dough, and three tablespoons of white miso paste. Beat until the mixture is pale, light, and fluffy with no visible miso streaks—creamy, aerated, and slightly glossy. Scrape the sides with a worn silicone spatula so the texture reads perfectly smooth and uniform across the bowl.
Step 3: Emulsify eggs and vanilla into the creamed base
Add the whole egg, the egg yolk, and one teaspoon of vanilla, then beat on medium until fully emulsified. The result should be a glossy, cohesive batter where the fat and liquid are harmonized: glossy ribbons, no oily separation, the mix slightly thicker and silkier than before. Keep the same bowl and spatula nearby—this continuity preserves utensil memory in the visual story.
Step 4: Fold in the dry mix and form the dough, then chill
Add the whisked dry ingredients into the bowl and mix just until incorporated—stops when no dry pockets remain. Use the spatula for a final gentle fold so the dough is thick, soft, and slightly tacky; if it feels very sticky note that chilling will firm it up. Cover the bowl tightly with plastic wrap or a reusable cover and set it on the marble to chill until firm to the touch. The chilled dough should read dense, cohesive, and pliable when pressed.
Step 5: Portion dough into smooth balls on a parchment-lined sheet
Scoop and roll the chilled dough into equal 1 1/2-tablespoon balls, forming smooth, taut spheres and arranging them on a rectangular parchment-lined baking sheet, spaced to control spreading. The dough balls should be matte with faint surface dimples from rolling—perfect, uniform spheres that hint at chewy centers and crisp edges after baking. A metal cookie scoop and a small bench scraper sit nearby, quietly signaling the action that produced them.
Step 6: Bake, cool on the sheet briefly, then transfer to a wire rack
After baking until the edges are set and centers puffed and lightly golden, let the cookies rest on the hot sheet for a few minutes then transfer to a wire rack to cool completely. The cooled cookies should read warm-golden at the edges with soft, pillowy centers—flat, round discs with a slightly craggy surface that will catch caramel beautifully.
Step 7: Cook and finish the miso caramel to a spoonable gloss
Warm the cream and reserved butter until steaming, then cook the remaining granulated sugar with water to a deep amber syrup and carefully whisk in the warm cream-and-butter until smooth. Whisk in the remaining miso, vanilla, and flaky sea salt off heat until glossy and completely emulsified. The finished caramel should be slow-flowing, amber and mirror-like—thick enough to cling to a spoon but fluid enough to drizzle. Keep it in a small pourable ceramic jug or jar on the marble so it reads as an ingredient-ready vessel.
Step 8: Drizzle, sprinkle flaky salt, and rest before serving
Once the cookies are fully cool, generously drizzle the warm miso caramel across each cookie in flowing zigzags or small central pools; the caramel should trail and cling, forming glossy ribbons and tiny pools. While still soft, finish each cookie with a faint pinch of flaky sea salt to create shiny crystallized highlights. Let the caramel settle to a soft chew at room temperature before serving.
Notes
- Chill dough to control spread and deepen flavor
- Use a heavy-bottomed pan for caramel to prevent burning
- Toast nuts lightly before adding for extra crunch
- Store cooled cookies in airtight container with parchment layers
- Freeze baked cookies on a tray, then transfer to a bag for up to 3 months