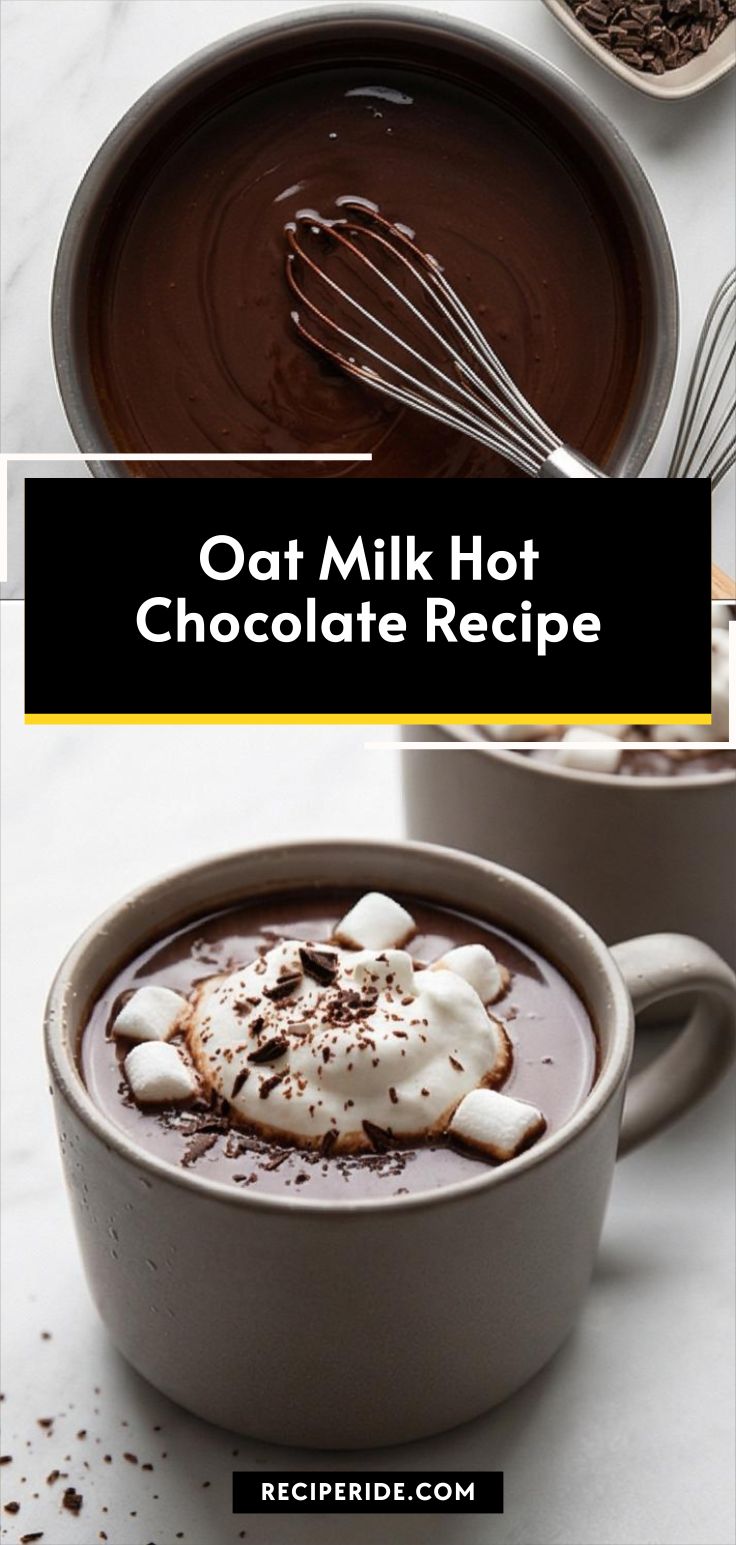
Oat Milk Hot Chocolate Recipe is my go-to for cold evenings and lazy mornings. I started making this version after experimenting with plant milks and dark chocolate, and it quickly became a ritual. The balance of creamy oat milk with a glossy, melted dark chocolate center is what keeps me coming back. If you love rich, dairy-free comfort, this Oat Milk Hot Chocolate Recipe will make you feel cozy in minutes.
I remember the first time I called this a recipe rather than a happy accident. ## When a Mug Felt Like a Warm Hug
The first batch of this Oat Milk Hot Chocolate Recipe was late on a winter night when the power had flickered and I wanted something simple and honest. I remember the sound of the whisk in a small steel pan, the faint steam warming my face, and the smell of chocolate folding into oat milk. I felt a slow contentment as the glossy surface formed and I tasted it for the first time, surprised by how comforting a few good ingredients could be. That night I wrapped myself in a blanket and sipped slowly, deciding to keep the recipe in my mental kitchen for when I needed a calm moment.
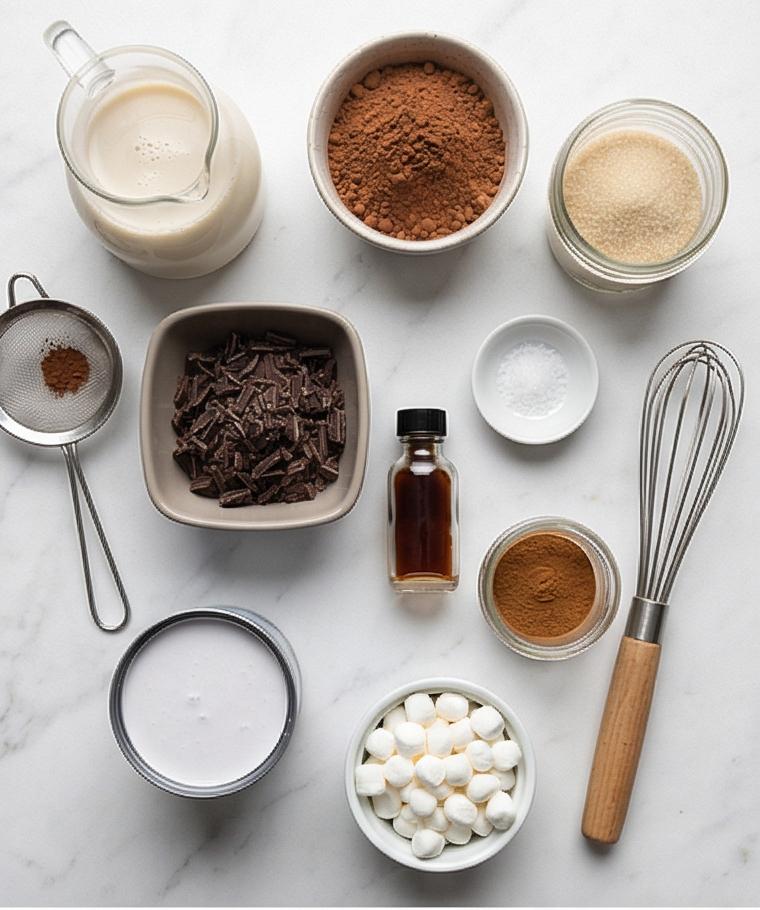
Key Ingredients and How to Choose Them
- Unsweetened Oat Milk: The base that gives body and sweetness without dairy; choose barista or thick oat milk for silkier texture. Substitute: almond or cashew milk, but adjust sweetness.
- Unsweetened Cocoa Powder: Adds deep chocolate aroma and color; sift to avoid lumps. Substitute: Dutch-processed cocoa for milder flavor.
- Granulated Sugar: Balances bitterness; use maple syrup or coconut sugar if desired and reduce slightly.
- Dark Chocolate: The richness anchor; pick 60-70% cocoa for depth. Substitute: vegan chocolate or higher percentage for less sweetness.
- Sea Salt & Vanilla: Small details that lift the flavors; use pure vanilla extract for clarity.
- Coconut Milk (optional): Adds silk and richness; full-fat canned gives a creamier mouthfeel.
Essential Kitchen Tools
A few simple tools make this Oat Milk Hot Chocolate Recipe effortless. Use a small whisk to emulsify the cocoa paste and melted chocolate; it helps prevent graininess. A medium saucepan with a heavy bottom gives gentle, even heat, reducing scorch risk. A small bowl for the cocoa-sugar paste keeps lumps at bay and lets you dissolve flavor evenly.
- Whisk: For smooth texture and even melting.
- Medium Saucepan: Ensures even heat distribution.
- Small Mixing Bowl: For making the cocoa-sugar paste.
- Heatproof Mugs: Serve safely and keep the drink warm.
Alternatives: an immersion blender can re-emulsify if separation occurs, and a wooden spoon works if you do not have a whisk.
Step-by-Step Preparation Guide
Step 1: Prepare the chocolate
Finely chop the 2 ounces (60 g) of dark chocolate into small, even pieces so they melt quickly and evenly; place the chopped chocolate in a small matte ceramic square bowl and set it aside on the marble. Keep the same slim stainless whisk with a matte wooden handle and a small glass milk jug nearby for continuity.
Step 2: Make the cocoa-sugar paste
In a small ceramic measuring bowl whisk together the sifted unsweetened cocoa powder, 2 tablespoons granulated sugar, and 3–4 tablespoons of the reserved cold oat milk until the mixture becomes a smooth, glossy paste with no dry lumps — the surface should be satin and lump-free, almost syrup-like, ready to disperse into warm milk. Rest the whisk on the rim when finished.
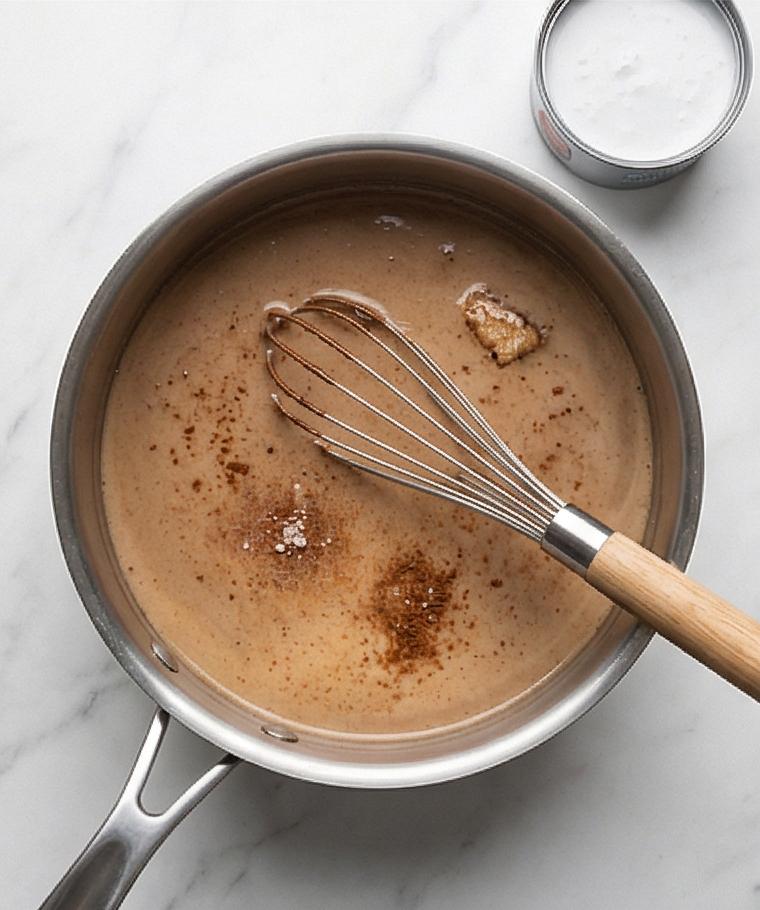
Step 3: Combine liquids and aromatics
Pour the remaining oat milk into a medium matte steel saucepan (placed on the marble surface, not a stove) and add the cocoa-sugar paste, the pinch of fine sea salt, and the optional 1/8 teaspoon ground cinnamon and chilled full-fat canned coconut milk if using. Gently fold the paste into the cold milk with the same whisk until uniformly integrated; the mixture should look homogenous and slightly darker than plain oat milk.
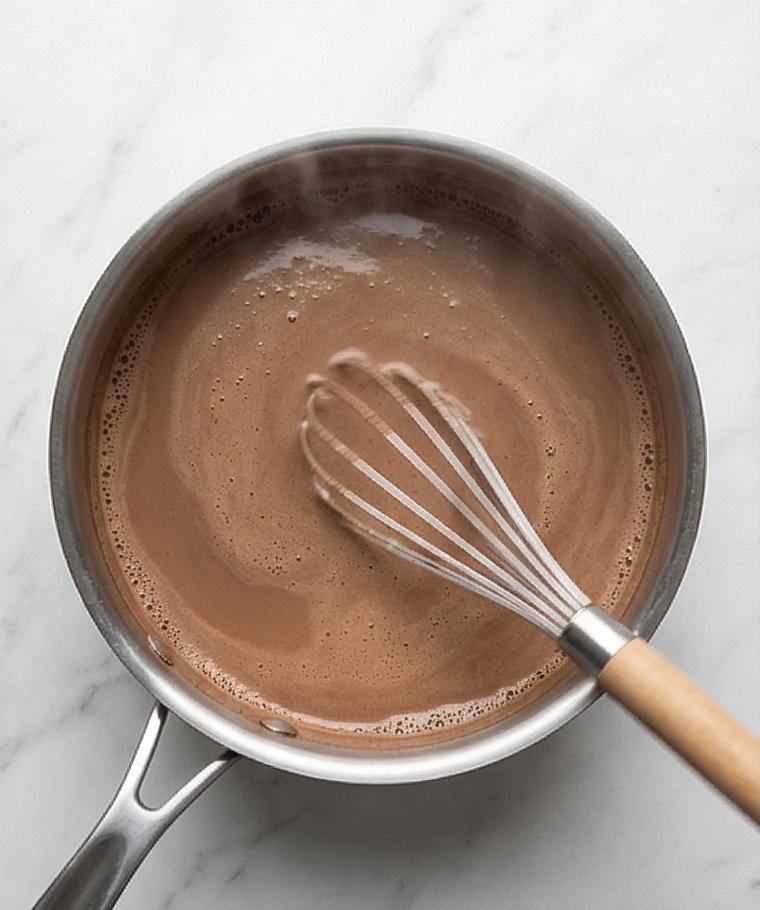
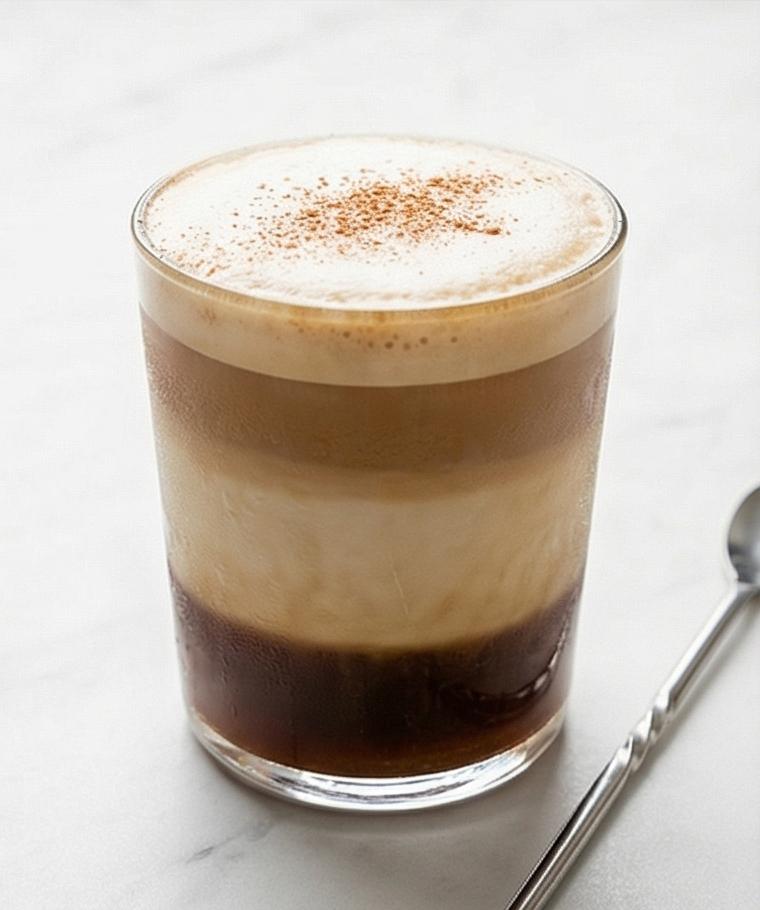
Step 4: Heat gently until steaming
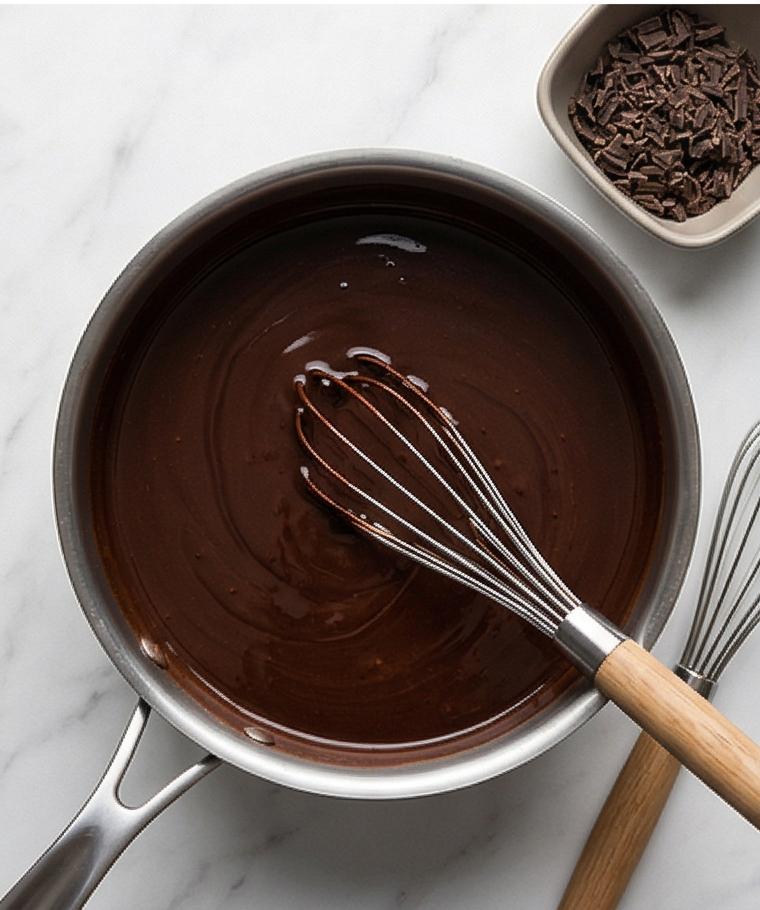
Bring the assembled mixture to temperature by heating gently (presented here as the finished heated pot on the table): whisk continuously until the surface shows a silky sheen and tiny, delicate bubbles form at the edges — steaming but not boiling, with a smooth, almost creamy skin and faint micro-bubbles. The texture should be cohesive and glossy, evidence it’s nearly ready for the chocolate.
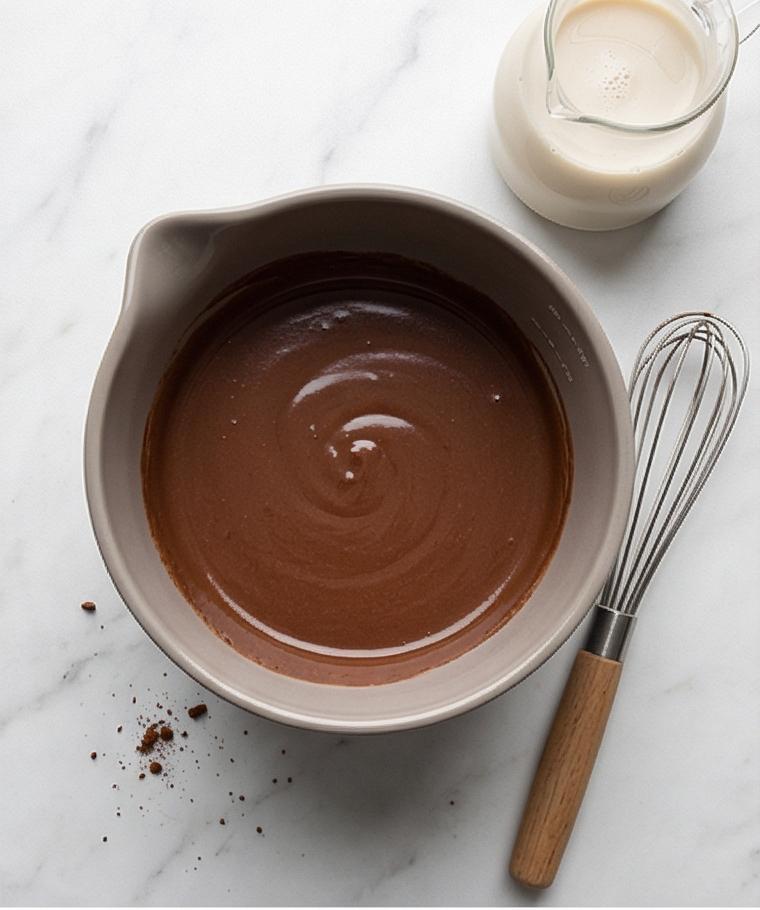
Step 5: Melt in the chopped dark chocolate
Reduce heat and add the finely chopped dark chocolate to the hot mixture, whisking constantly until every flake melts into a uniformly dark, velvety emulsion; the liquid should thicken slightly and become richly glossy with no graininess, showing a smooth ribbon when lifted with the whisk. If any small unmelted pieces remain, continue slow whisking until fully incorporated.
Step 6: Taste, finish, and adjust
Carefully taste (it’s hot) and whisk in up to an additional tablespoon of sugar if a sweeter finish is desired; stir until dissolved. Remove from heat, whisk in the 1/2 teaspoon pure vanilla extract, and let the pot rest briefly to reach a comfortable sipping temperature (140–150°F / 60–65°C) while retaining its silky texture.
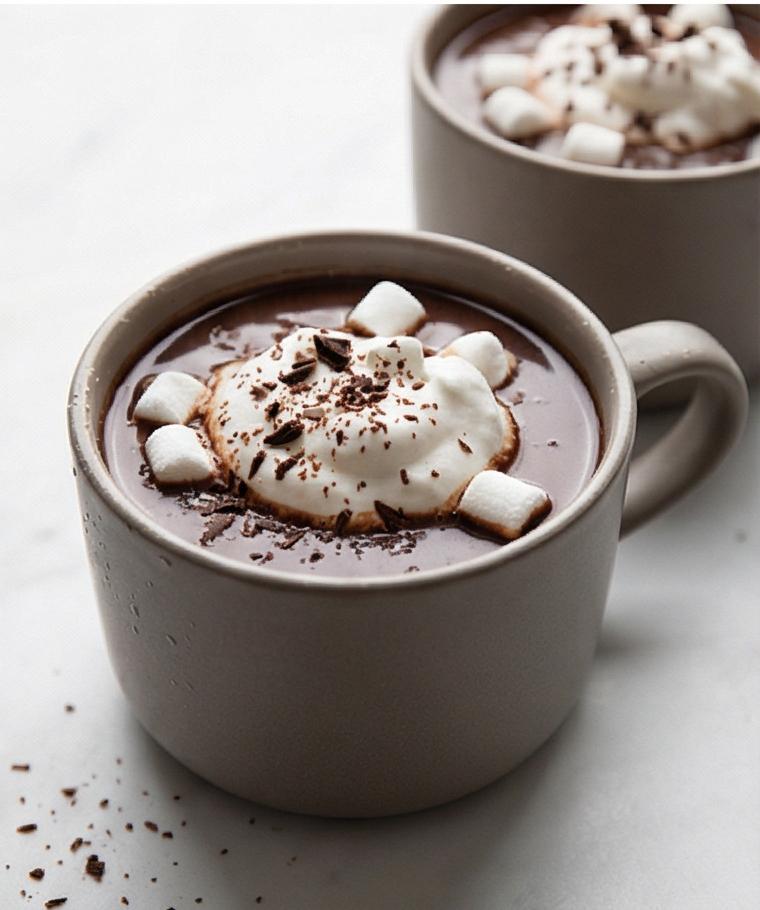
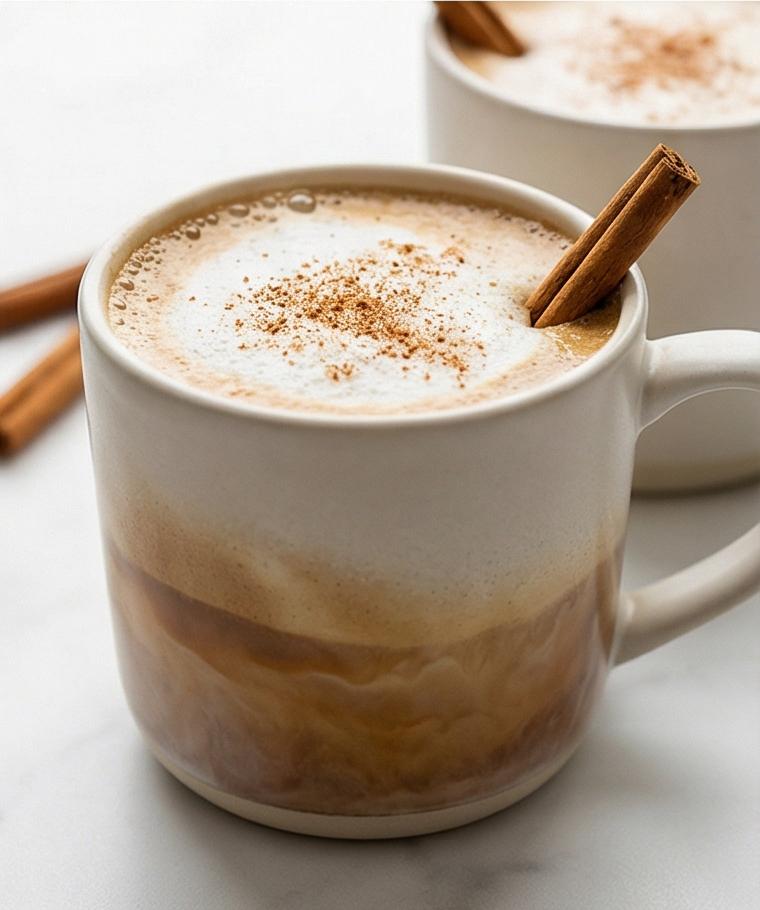
Step 7: Serve and garnish
Divide the hot chocolate evenly into two heatproof matte ceramic mugs, re-whisking briefly if needed to re-emulsify. Finish each mug with a generous dollop of cold whipped coconut cream or a handful of mini marshmallows, then sprinkle dark chocolate shavings or a light dusting of cocoa powder for contrast — the final surface should be pillowy cream or matte marshmallows against the deep, glossy chocolate beneath.
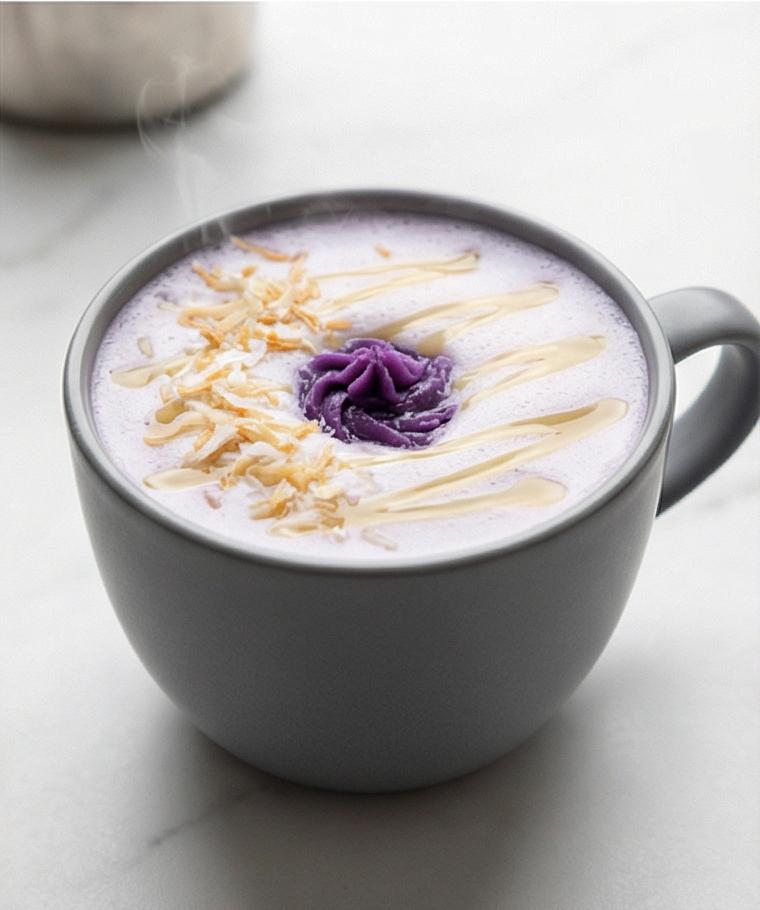
Making It Your Own
I love tweaking this Oat Milk Hot Chocolate Recipe depending on the season or what I have on hand. Try stirring in a teaspoon of orange zest or a splash of espresso for a bright or bold twist. For a spiced winter version, up the cinnamon and add a pinch of ground cardamom. If you need it sweeter, swap part of the sugar for maple syrup and reduce the granulated sugar by a tablespoon. For a richer mouthfeel, add the chilled canned coconut milk; for a lighter cup, use low-fat oat milk and skip the coconut. Small experiments make the recipe feel personal.
How to Serve
If I am hosting, I make a double batch and set up a tiny hot chocolate station. Offer toppings in small bowls: whipped coconut cream, mini marshmallows, chocolate shavings, and a dusting of cocoa. For larger groups, keep the mixture warm in a thermal carafe and whisk briefly before pouring to re-emulsify.
To scale up, double the ingredients and heat gently in a larger pot. For guests with dietary needs, label the dairy-free toppings and provide spoons for scooping the cream. Presentation: matte mugs, a linen napkin, and a small plate with biscotti create a cozy table.
Storage and Reheating
Leftover hot chocolate will keep for up to 2 days refrigerated in a covered container. The texture may separate as it cools; this is normal. When ready to drink again, reheat gently on low heat while whisking constantly to recombine the fats and cocoa into a smooth emulsion.
If you have added whipped coconut cream or marshmallows, remove those before storing and add fresh garnishes when serving. For a quick skim, a handheld frother works wonders to restore silkiness.
Common Mistakes and How to Avoid Them
Overheating the milk can cause separation and a scorched taste. Heat gently and look for tiny bubbles at the edge rather than a rolling boil. If the chocolate looks grainy, keep whisking over low heat until the grains dissolve.
Using unsifted cocoa or adding cocoa straight to hot milk can leave clumps. Always make the cocoa-sugar paste with some cold milk first to ensure a smooth dispersal.
Final Thoughts
Give this Oat Milk Hot Chocolate Recipe a try when you want something soothing and easy. It is forgiving, quick, and easy to make with pantry staples, and it rewards small adjustments. I hope it becomes a warm ritual for you.
Frequently Asked Questions.
- What oat milk should I use for the creamiest texture? Use a barista-style or full-bodied unsweetened oat milk for the creamiest mouthfeel; it froths and blends better than thin varieties.
- Can I make this completely sugar-free? Yes, you can use a sugar substitute like erythritol or omit sugar if your dark chocolate is sweet enough, but taste and adjust at the end.
- Is this recipe vegan? Yes, this Oat Milk Hot Chocolate Recipe is vegan when you use dairy-free dark chocolate and coconut cream for garnish.
- How do I prevent the chocolate from seizing? Chop the chocolate finely and add it to warm but not boiling milk, whisking constantly to create a smooth emulsion.
- Can I make this ahead for a party? Make the base, cool, and refrigerate; reheat slowly while whisking and add toppings just before serving.
Oat Milk Hot Chocolate Recipe
Make Oat Milk Hot Chocolate Recipe: creamy dairy-free hot chocolate with dark chocolate and optional coconut cream, ready in 20 minutes.
Ingredients
Instructions
Step 1: Prepare the chocolate
Finely chop the 2 ounces (60 g) of dark chocolate into small, even pieces so they melt quickly and evenly; place the chopped chocolate in a small matte ceramic square bowl and set it aside on the marble. Keep the same slim stainless whisk with a matte wooden handle and a small glass milk jug nearby for continuity.
Step 2: Make the cocoa-sugar paste
In a small ceramic measuring bowl whisk together the sifted unsweetened cocoa powder, 2 tablespoons granulated sugar, and 3–4 tablespoons of the reserved cold oat milk until the mixture becomes a smooth, glossy paste with no dry lumps — the surface should be satin and lump-free, almost syrup-like, ready to disperse into warm milk. Rest the whisk on the rim when finished.
Step 3: Combine liquids and aromatics
Pour the remaining oat milk into a medium matte steel saucepan (placed on the marble surface, not a stove) and add the cocoa-sugar paste, the pinch of fine sea salt, and the optional 1/8 teaspoon ground cinnamon and chilled full-fat canned coconut milk if using. Gently fold the paste into the cold milk with the same whisk until uniformly integrated; the mixture should look homogenous and slightly darker than plain oat milk.
Step 4: Heat gently until steaming
Bring the assembled mixture to temperature by heating gently (presented here as the finished heated pot on the table): whisk continuously until the surface shows a silky sheen and tiny, delicate bubbles form at the edges — steaming but not boiling, with a smooth, almost creamy skin and faint micro-bubbles. The texture should be cohesive and glossy, evidence it’s nearly ready for the chocolate.
Step 5: Melt in the chopped dark chocolate
Reduce heat and add the finely chopped dark chocolate to the hot mixture, whisking constantly until every flake melts into a uniformly dark, velvety emulsion; the liquid should thicken slightly and become richly glossy with no graininess, showing a smooth ribbon when lifted with the whisk. If any small unmelted pieces remain, continue slow whisking until fully incorporated.
Step 6: Taste, finish, and adjust
Carefully taste (it’s hot) and whisk in up to an additional tablespoon of sugar if a sweeter finish is desired; stir until dissolved. Remove from heat, whisk in the 1/2 teaspoon pure vanilla extract, and let the pot rest briefly to reach a comfortable sipping temperature (140–150°F / 60–65°C) while retaining its silky texture.
Step 7: Serve and garnish
Divide the hot chocolate evenly into two heatproof matte ceramic mugs, re-whisking briefly if needed to re-emulsify. Finish each mug with a generous dollop of cold whipped coconut cream or a handful of mini marshmallows, then sprinkle dark chocolate shavings or a light dusting of cocoa powder for contrast — the final surface should be pillowy cream or matte marshmallows against the deep, glossy chocolate beneath.
Notes
- Use barista-style oat milk for a silkier texture.
- Chop chocolate finely to help it melt evenly.
- Make cocoa-sugar paste with cold milk to avoid lumps.
- Reheat gently and whisk to re-emulsify if stored.
- Customize sweetness and spices to taste.
