I still remember the first time I blended a Protein Pancakes Recipe because I wanted something that could keep up with my morning workouts and my sleepy kitchen routine. It felt like a small victory to make pancakes that were both fluffy and packed with protein, and I kept tweaking until the texture felt just right. Now this Protein Pancakes Recipe is my go-to when I need something fast, satisfying, and a little bit indulgent without the guilt. If you love pancakes but want more staying power, you are going to enjoy this version.
How This Recipe Became My Weekend Wake-Up
The early morning sun used to hit my tiny kitchen in streaks, and the ritual of making this Protein Pancakes Recipe started as a weekend experiment when I had a jar of whey powder and a stubborn craving for something warm. The first batch smelled like toasted oats and vanilla, and I remember the soft hiss from the pan as the batter hit the surface. I felt quietly elated watching the bubbles set and the edges brown, that simple comfort folding into the day. Sharing the stack with a friend one rainy Saturday made it feel like more than fuel; it felt like hospitality, calorie-conscious and cozy. Over time I learned how a little rest time and the right butter temperature could turn a good pancake into one that’s pillowy and tender, and that memory always makes this recipe feel like home.
Primary Ingredients and Why They Matter
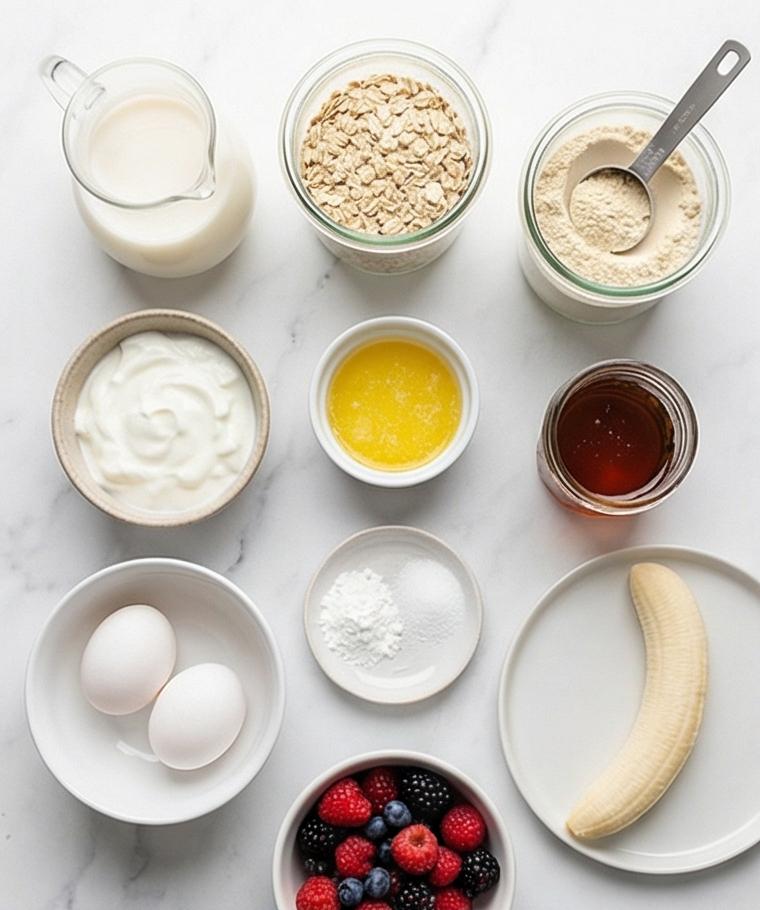
- Eggs: Provide structure, lift, and richness; use pasture-raised or organic for deeper flavor and eggs can be swapped for flax ‘eggs’ in a pinch, though texture will change.
- Milk: Adds moisture and thins the batter; low-fat or unsweetened almond milk both work—choose unsweetened to control sweetness.
- Greek Yogurt: Adds creaminess and protein while keeping crumb tender; swap for dairy-free yogurt if needed.
- Rolled Oats: Ground into a flour-like base for texture and fiber; quick oats are a substitute but may yield a softer crumb.
- Whey Protein: Boosts protein and helps with browning; use plant-based protein for vegan versions but expect different absorbency.
- Butter: Adds flavor and helps with crisp edges; use neutral oil for dairy-free.
Essential Kitchen Tools
A few simple tools make the process smooth and predictable, whether you cook on a weekday or a slow Sunday. The blender turns oats into a fine base and yields a silky batter faster than whisking by hand. A nonstick or well-seasoned cast-iron pan gives even heat and a reliably golden finish; a heavy-bottomed skillet is a fine alternative. Measuring cups and a 1/4-cup scoop keep pancakes uniform so they cook evenly.
- Blender: For grinding oats and emulsifying the batter; an immersion blender can work in a tall jar.
- Nonstick skillet or cast-iron pan: Ensures even browning; use a griddle if cooking large batches.
- Measuring cup (1/4-cup): For consistent portioning to produce uniform pancakes.
- Rubber spatula: To flip gently and scrape the blender clean if needed.
Step-by-Step Preparation Guide
Step 1: Melted butter and combine wet and dry in the blender
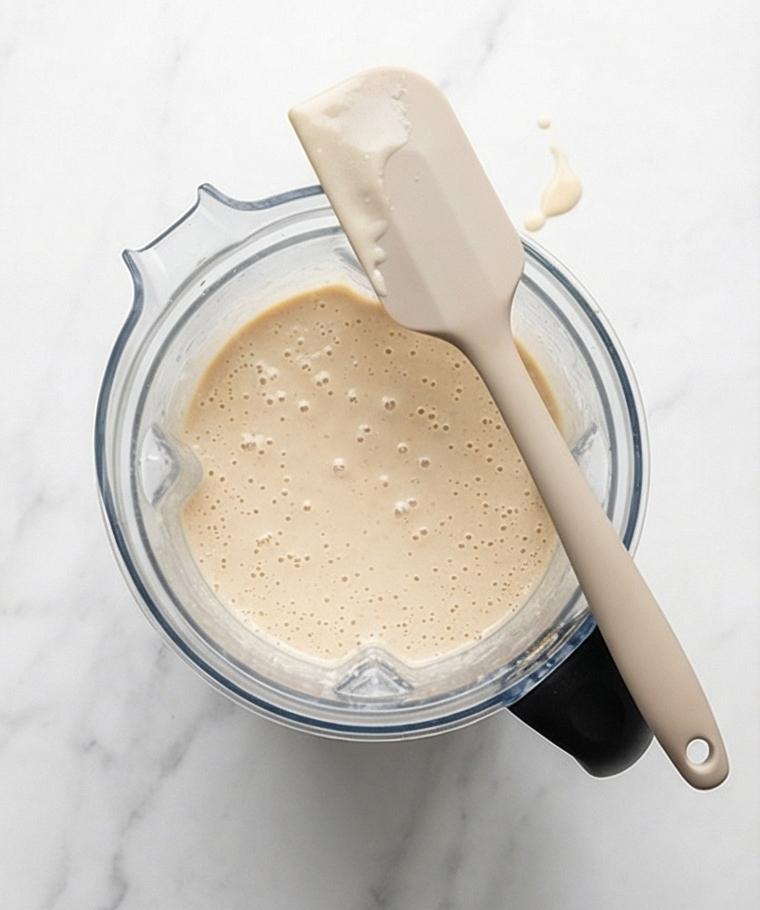
Gently melt the tablespoon of unsalted butter until just liquified and set it aside to cool slightly. In a blender jar add the wet ingredients in order — two room-temperature large eggs, one cup of milk, half a cup of plain Greek yogurt, a tablespoon of maple syrup (or honey) and a teaspoon of vanilla — then spoon the dry ingredients on top: one cup old-fashioned rolled oats, half a cup whey protein powder, a teaspoon baking powder, a quarter teaspoon fine sea salt and the optional half teaspoon ground cinnamon. Pour the slightly cooled melted butter into the blender, secure the lid and blend on medium-high until the oats are finely ground and the mixture is homogenous, pale beige and glossy, with no dry pockets; stop once or twice to scrape the sides. This yields a wet, velvety batter with the faint grittiness of ground oats turned smooth.
Step 2: Rest the batter and check texture
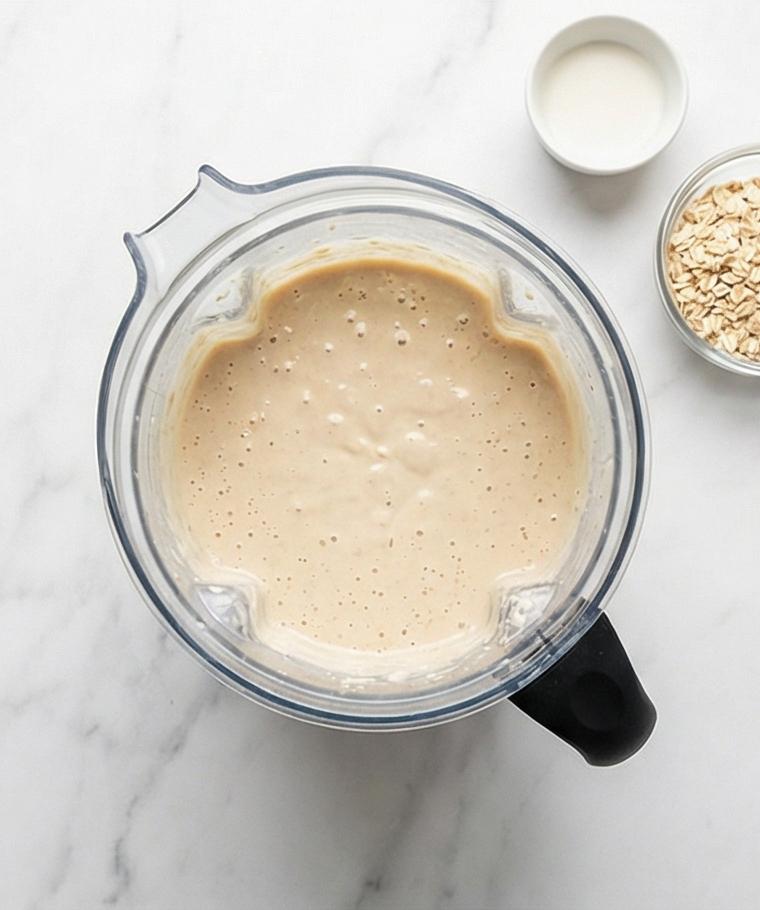
Let the blended batter rest in the same blender jar at room temperature for about five minutes so the oats hydrate and the batter thickens. Meanwhile preheat your pan (not shown) — the visual cue of readiness is a steady sizzle from a single droplet of water — then bring the attention back to the jar: the batter should now be noticeably thicker, silky yet pourable, with tiny suspended air bubbles and a satin surface. If the batter is too thick, whisk in a tablespoon or two of milk; if too thin, fold in a tablespoon or two of extra oats, blend briefly and let it sit two more minutes. Keep the blender jar and its rubber lid nearby; the measured 1/4-cup portioning cup should sit beside it ready for scooping.
Step 3: Portion and the cooked pancake result on the serving plate
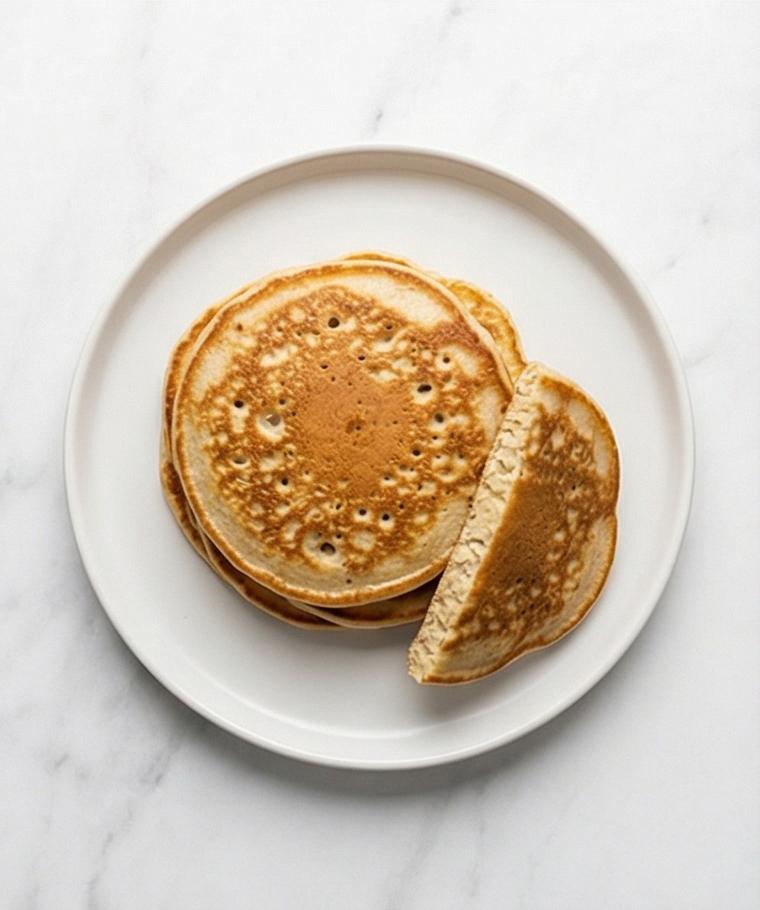
Portion the batter into consistent 1/4-cup dollops (use the measuring cup placed beside the jar) and cook until each pancake develops set edges and small, stable surface bubbles and an inviting golden-brown underside. Remove cooked pancakes and stack them directly onto a shallow, matte white ceramic plate — the same plate will be used through the remaining frames. The cooked pancakes look soft and pillowy with slightly crisp, lacy edges and a warm honey-gold surface mottled by tiny bubble craters; separate one slightly so the soft interior crumb and its airy, tender structure are visible.
Step 4: Dress and finish the stack for serving
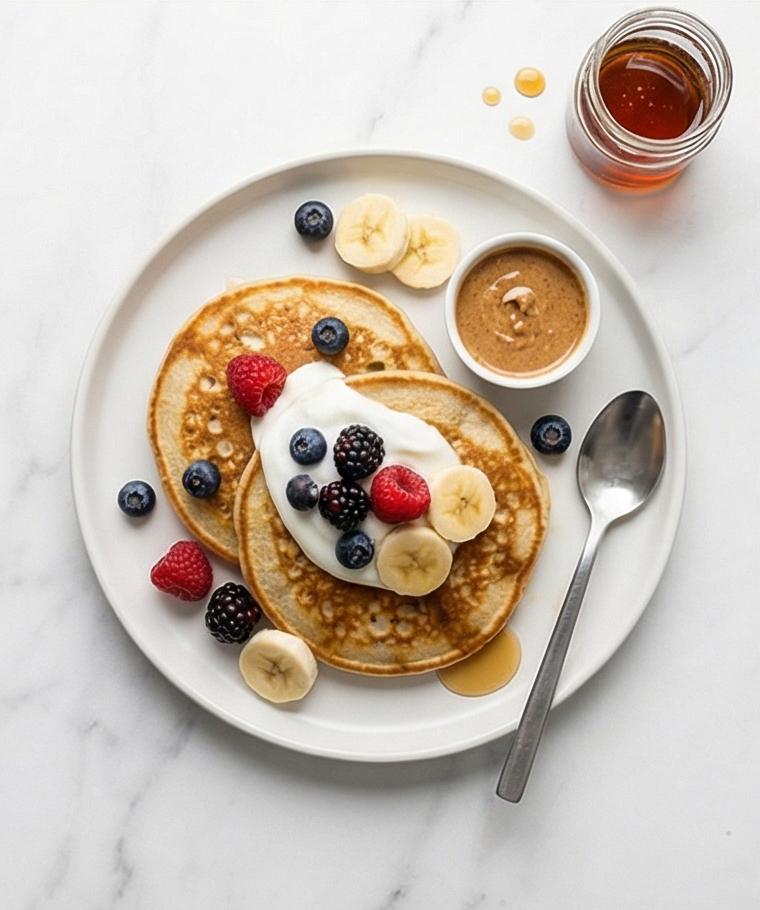
Finish the stack on the same matte white plate with a spoonful of additional plain Greek yogurt, scatter a half-cup of fresh berries and a few slices of ripe banana, and set out a small jar of warm maple syrup and a ramekin of natural nut butter. Drizzle two to three tablespoons of warm syrup over the stack so viscous ribbons run down the sides, add a glossy smear of nut butter nearby if desired — everything remains on the Carrara marble surface. The toppings provide color contrast: deep blue/purple berries, pale banana crescents, and the soft white of yogurt against the golden pancakes.
Step 5: Final plated close-up
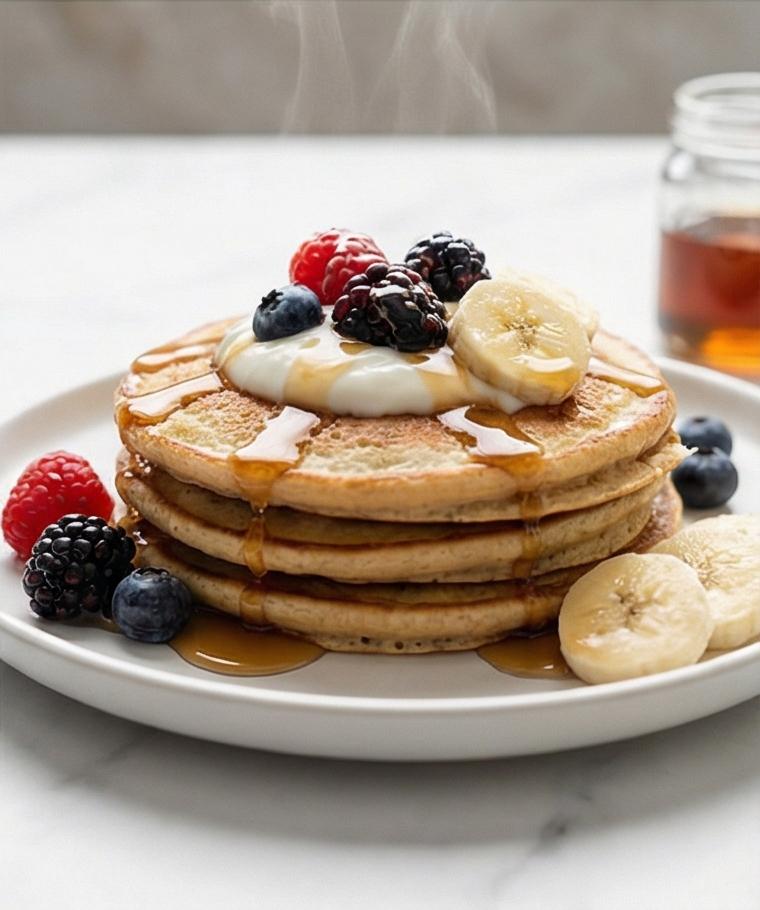
Arrange a final composition of two to three warm, fluffy protein pancakes stacked on the matte white ceramic plate, crowned with a smooth spoonful of Greek yogurt, a scattering of fresh berries and banana slices, and a generous, glossy drizzle of warm maple syrup. Capture a very close-up eye-level perspective that shows the porous, tender crumb, the melting sheen where butter or syrup meets pancake, and the thick satin texture of yogurt. Serve immediately while hot and steamy.
Making It Your Own
I love experimenting with small swaps to see how the Protein Pancakes Recipe changes. Try adding mashed banana into the batter for natural sweetness and extra moisture; you may need slightly less milk. For an oat-free version, substitute a gluten-free flour blend and reduce liquid gradually. When I tested a version with cocoa and chocolate chips, the batter tightened a bit, so I added one more tablespoon of milk for tenderness. For a dairy-free approach, use a plant-based protein and coconut or almond yogurt; the pancakes will be subtly different but still satisfyingly fluffy.
How to Serve
When hosting, keep everything warm: place cooked pancakes on a baking sheet in a 200 F oven until ready to stack. To serve a crowd, double the recipe and cook on two pans or a large electric griddle so you can plate continuously. For a brunch spread, set out bowls of berries, sliced bananas, Greek yogurt, warm maple syrup, and nut butter so guests can customize. If you want an elegant presentation, stack two to three pancakes, add a dollop of yogurt, fan banana slices, and finish with a few berries and a delicate pour of syrup.
Storage and Reheating Tips
Cool leftover pancakes in a single layer before storing to prevent sogginess. Refrigerate in an airtight container for up to 3 days or freeze separated by parchment paper for up to 1 month.
To reheat, toast frozen pancakes in a toaster oven or regular toaster for a crisp edge and soft interior, or warm gently in a skillet with a little butter for 1 to 2 minutes per side. If microwaving, cover with a damp paper towel and heat in short bursts to avoid rubbery texture.
Common Mistakes and How to Avoid Them
Overblending can make pancakes too dense; pulse until oats are just fine but stop once the batter looks glossy and uniform. Cooking on too-high heat will brown the exterior before the center sets; maintain medium to medium-low heat and be patient.
Using cold ingredients can prevent the batter from blending smoothly; allow eggs, milk, and yogurt to come to room temperature so the batter emulsifies and cooks evenly.
Ready to Try It?
I hope this Protein Pancakes Recipe becomes a reliable favorite in your kitchen. It is forgiving, adaptable, and quick, and once you dial in your pan temperature you will have a stack of warm, satisfying pancakes in no time. Give it a try and make it your own.
Frequently Asked Questions.
- What is the best protein powder to use? Use a whey protein for the lightest texture and best browning; plant proteins work but may need a bit more liquid.
- Can I make the batter ahead? You can blend the batter and refrigerate it for up to 24 hours, though it may thicken—stir in a splash of milk before cooking.
- Are these pancakes gluten-free? The recipe can be gluten-free if you use certified gluten-free oats and protein powder.
- How do I prevent pancakes from sticking? Heat the pan properly, add a small amount of butter or oil between batches, and avoid flipping too early.
- Can I freeze cooked pancakes? Yes, cool completely and freeze between sheets of parchment in an airtight container for up to 1 month.
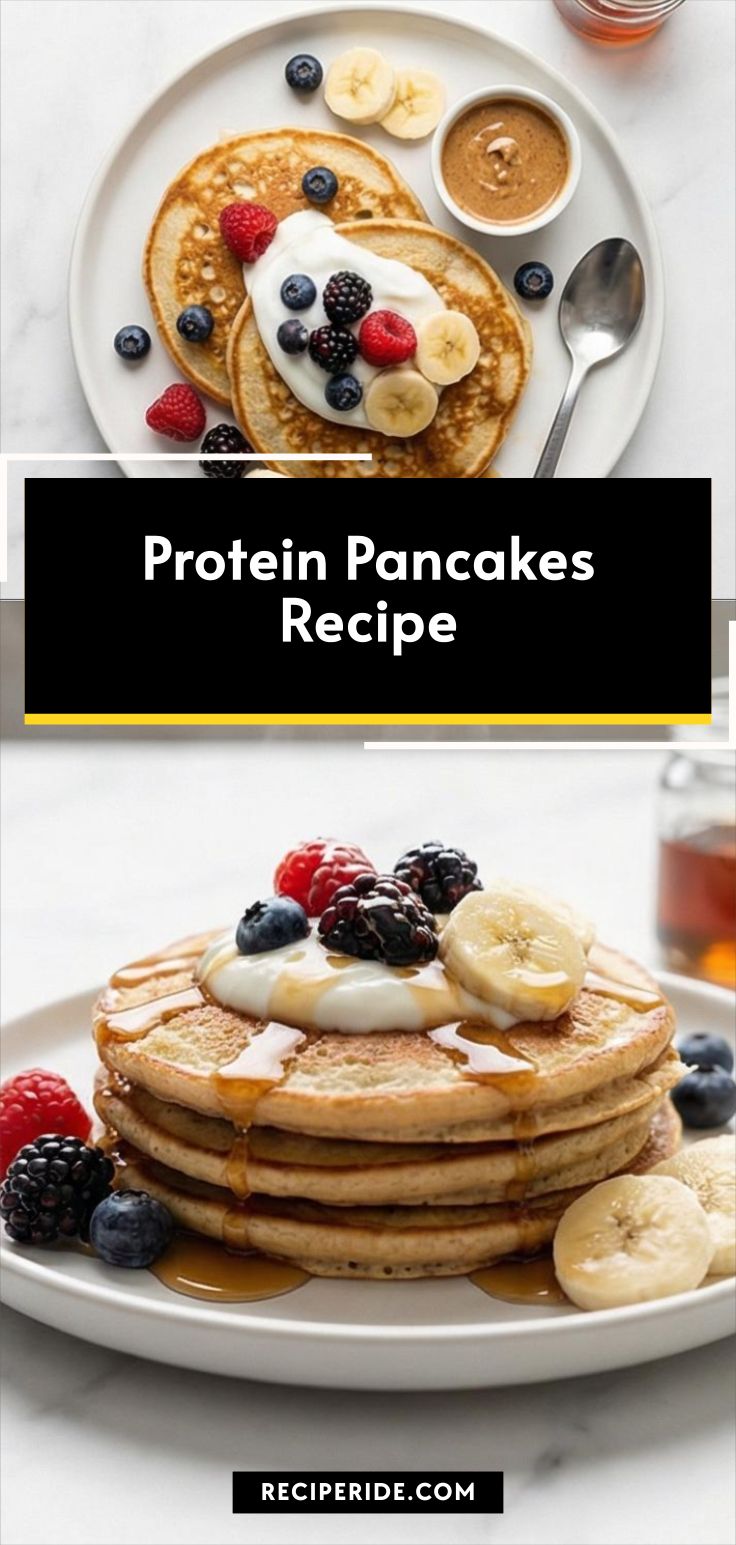
Protein Pancakes Recipe
Make quick, fluffy Protein Pancakes Recipe for a protein-packed breakfast — blended oats, whey, and Greek yogurt for tender stacks.
Ingredients
Instructions
Step 1: Melted butter and combine wet and dry in the blender
Gently melt the tablespoon of unsalted butter until just liquified and set it aside to cool slightly. In a blender jar add the wet ingredients in order — two room-temperature large eggs, one cup of milk, half a cup of plain Greek yogurt, a tablespoon of maple syrup (or honey) and a teaspoon of vanilla — then spoon the dry ingredients on top: one cup old-fashioned rolled oats, half a cup whey protein powder, a teaspoon baking powder, a quarter teaspoon fine sea salt and the optional half teaspoon ground cinnamon. Pour the slightly cooled melted butter into the blender, secure the lid and blend on medium-high until the oats are finely ground and the mixture is homogenous, pale beige and glossy, with no dry pockets; stop once or twice to scrape the sides. This yields a wet, velvety batter with the faint grittiness of ground oats turned smooth.
Step 2: Rest the batter and check texture
Let the blended batter rest in the same blender jar at room temperature for about five minutes so the oats hydrate and the batter thickens. Meanwhile preheat your pan (not shown) — the visual cue of readiness is a steady sizzle from a single droplet of water — then bring the attention back to the jar: the batter should now be noticeably thicker, silky yet pourable, with tiny suspended air bubbles and a satin surface. If the batter is too thick, whisk in a tablespoon or two of milk; if too thin, fold in a tablespoon or two of extra oats, blend briefly and let it sit two more minutes. Keep the blender jar and its rubber lid nearby; the measured 1/4-cup portioning cup should sit beside it ready for scooping.
Step 3: Portion and the cooked pancake result on the serving plate
Portion the batter into consistent 1/4-cup dollops (use the measuring cup placed beside the jar) and cook until each pancake develops set edges and small, stable surface bubbles and an inviting golden-brown underside. Remove cooked pancakes and stack them directly onto a shallow, matte white ceramic plate — the same plate will be used through the remaining frames. The cooked pancakes look soft and pillowy with slightly crisp, lacy edges and a warm honey-gold surface mottled by tiny bubble craters; separate one slightly so the soft interior crumb and its airy, tender structure are visible.
Step 4: Dress and finish the stack for serving
Finish the stack on the same matte white plate with a spoonful of additional plain Greek yogurt, scatter a half-cup of fresh berries and a few slices of ripe banana, and set out a small jar of warm maple syrup and a ramekin of natural nut butter. Drizzle two to three tablespoons of warm syrup over the stack so viscous ribbons run down the sides, add a glossy smear of nut butter nearby if desired — everything remains on the Carrara marble surface. The toppings provide color contrast: deep blue/purple berries, pale banana crescents, and the soft white of yogurt against the golden pancakes.
Step 5: Final plated close-up
Arrange a final composition of two to three warm, fluffy protein pancakes stacked on the matte white ceramic plate, crowned with a smooth spoonful of Greek yogurt, a scattering of fresh berries and banana slices, and a generous, glossy drizzle of warm maple syrup. Capture a very close-up eye-level perspective that shows the porous, tender crumb, the melting sheen where butter or syrup meets pancake, and the thick satin texture of yogurt. Serve immediately while hot and steamy.
Notes
- Let ingredients come to room temperature for best texture.
- Rest the batter for five minutes to hydrate the oats.
- Adjust milk or oats to reach a silky, pourable batter.
- Cook over medium heat to ensure even browning.
- Freeze leftovers separated by parchment for easy reheating.
